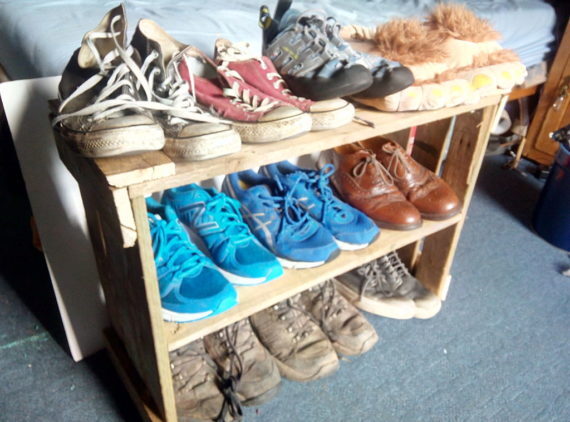
Sick of shoes being left around your house? No, perhaps you’re sick of having dirt from the day walked through your clean house. Why not build yourself a diy shoe rack?
This is a painfully simple project. It will take half a day maximum, and yes – it does involve pallets! We love pallets here at ToolMates Hire, because they’re so easy to work with.
Materials
1x Pallet
Fixit blocks
Screws
Tools
Drill
Hammer
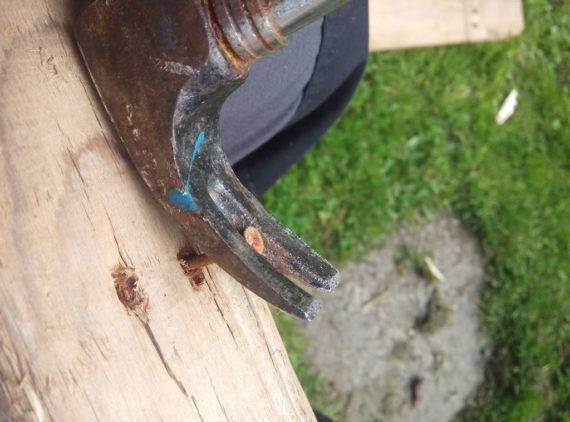
Step 1: Dismantle the pallet
The first step will be to dismantle the pallet until you have multiple usable wooden planks. We suggest using a hammer and a saw, but a crowbar is useful too, provided you do not snap your pieces. Don’t forget to also remove the nails from your pallets, using a hammer, or pliers if they are bent.
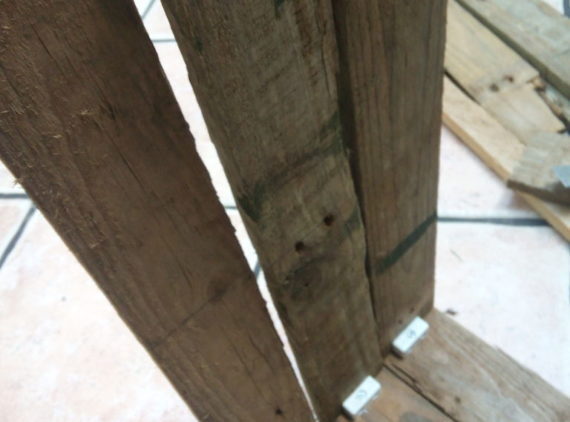
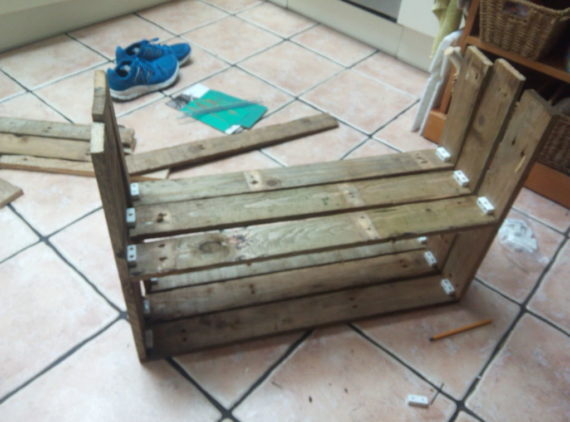
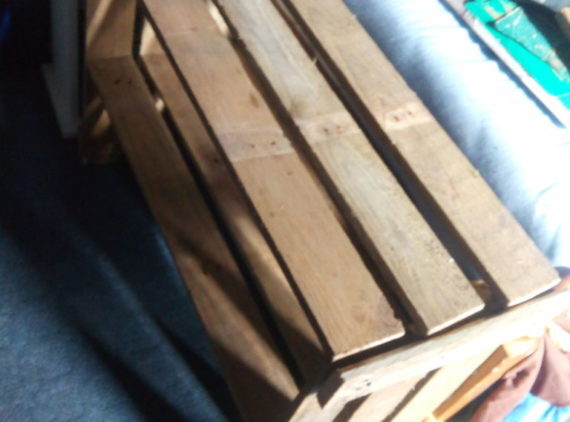
Step 2: Screwing the bottom and sides together
To be holding our shoe rack together, we’re going to be using fixit blocks and screws. Of course, you can choose to use another method if you wish. As you can see in the picture below, we’ve gone for a three-wide rack, but depending on how many pallets you’re using, or how many planks you’ve created, you can have it thicker. Just keep in mind you will also need some of those pallets for the shelves. For ours, 9 were required (6 for the sides and 3 for the bottom)
Step 3: Making the shelves
Obviously, some cutting will be required here, as your shelves will not fit perfectly in between the sides. Measure halfway up the sides so that you come up with a nice even shoe rack. Go ahead and attach the shelf using your fixit blocks and screws.
Step 4: Making the supports
For the supports, you will need two for each side and two for the top. Once you cut them to size, measure and mark out where the screws will go, and drill some pilot holes, then screw all the parts together.
Step 5: Finishing
Make sure you sand your shoe rack down to give it a smooth polish. You can ever coat it with some finisher if you wish, to give it a slicker look (however keep in mind dirty shoes will be sitting on it!

Leave a Reply