
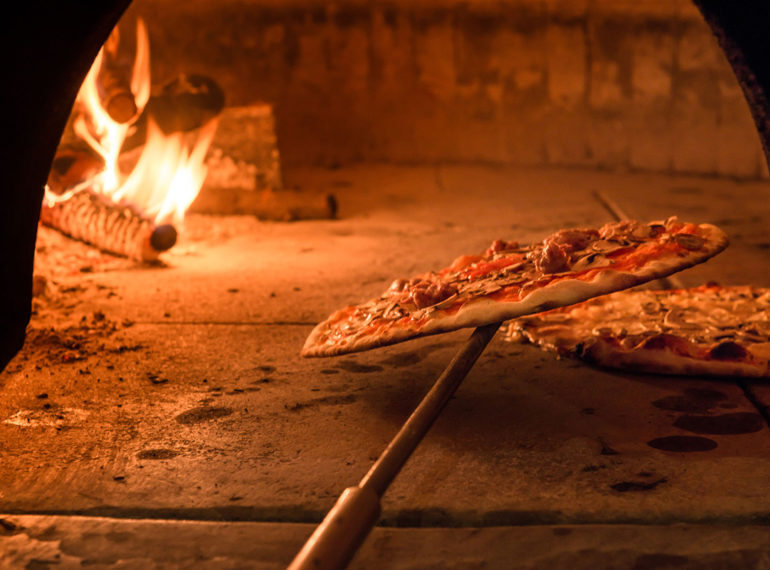
Could there be anything cooler than having a pizza oven in your backyard!
In this article, we outline the step-by-step guide to creating your own pizza oven that is movable, so suitable for people that are renting and may need to move it to another property if required.
The pizza oven is lightweight, uses fire bricks and also wood to cook the pizzas and is a fantastic addition to your backyard alfresco set up. We’ve gone into a fair bit of detail for this DIY project, and have done the research and think this pizza oven is the perfect addition to your outdoor dining set up.
Materials needed to create your pizza oven include:
- Cement for the top dome mould
- Fire bricks for the bottom floor mould
- Pavers for the table stand
- Thick cement backer board
- Cement
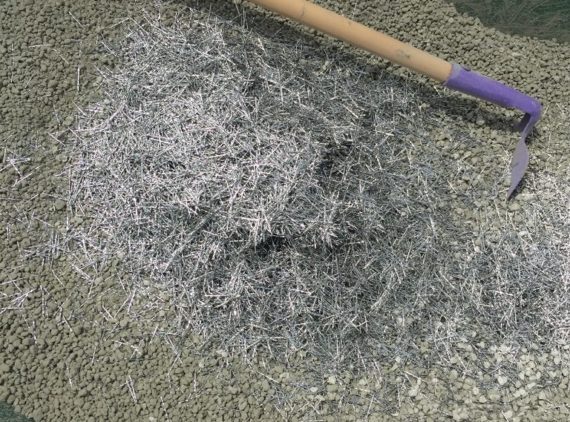
- SS needles
- Formica
- Chimney (4” x 2’)
- Exercise ball
- Plywood
Tools needed to build the pizza oven:
- Wheel barrow
- Hoe to mix the cement
- Jig saw
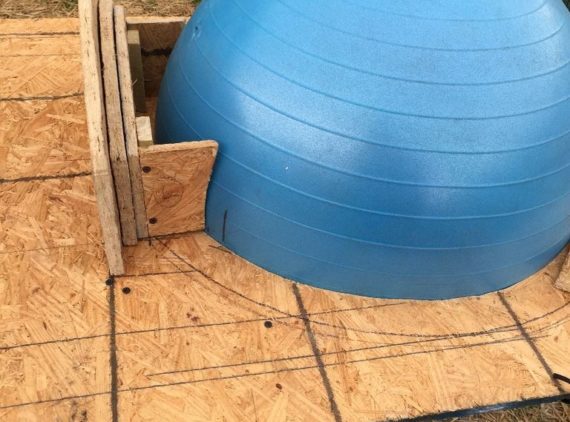
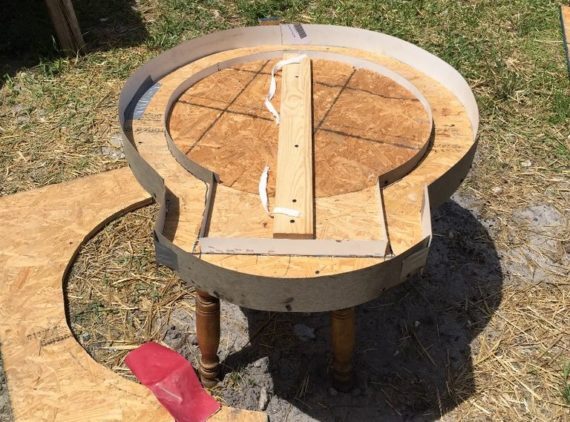
Step 1: Create your top dome mould
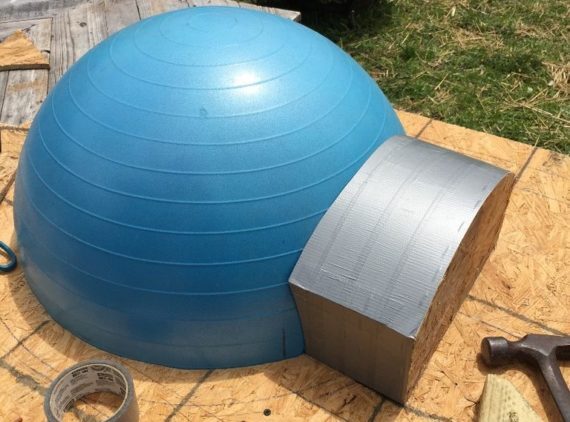
Firstly you’re going to need to make the mould for the top dome using an exercise ball. Measure the circumference to work out the diameter of the circle cut out. Cut out the circle and insert the ball to create the dome.
Next, with a dome height of 12.5 inches, you should then work out the door height, in our case 7.875 high and aim for a 63% ratio. The devil is in the detail at this stage so make sure you take the time to get all of this part right, so you don’t have any issues down the track. Once you have the mould ready, you can start getting the concrete ready to make the top dome for your pizza oven.
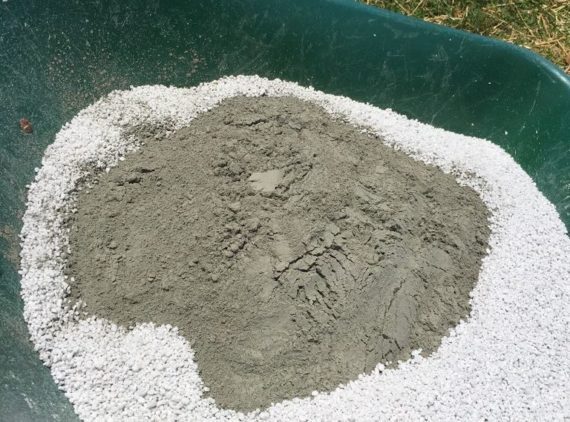
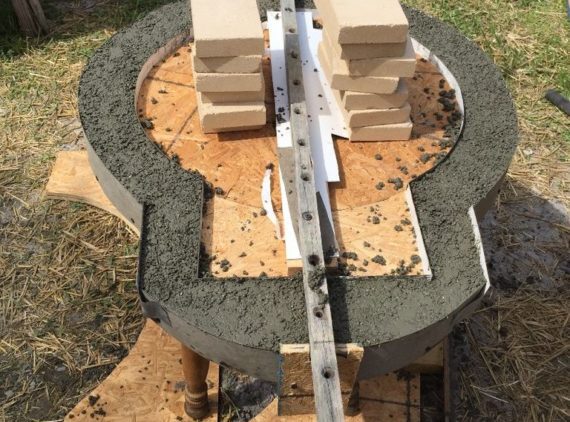
Step 2: Mix up the concrete for the top dome mould
In this step, it’s time to mix up the concrete and add in some stainless steel needles for strength. Mix it all up in a wheelbarrow using a hoe. You’ll probably need around 5% needles to the cement mix you’ll be able to work this out as you go.
Once this is all mixed add half a bucket of water to keep the mixture nice and wet. Don’t go overboard with the water otherwise, the mixture will get too sloppy. Once you have added the cement to the mould, you can skim the coat to make it look good on the surface.
Step 3: Make the bottom mould for your pizza oven
Now that you’ve created the top mould for the pizza oven, it’s time to make the bottom part of the oven. For our pizza oven, we used fire bricks which were laid into a mould of concrete and stainless steel needles (just like the top of the mould).
To make the bottom mould slide the top dome onto a piece of plywood and trace it out and then take the original circle cut out and work out the bottom template to lay your firebricks. We worked to make an overall thickness of the floor to be 2.25 which meant we had to attach a 2.75” floor thickness template this allows for 2.25 thick bricks plus a layer of concrete.
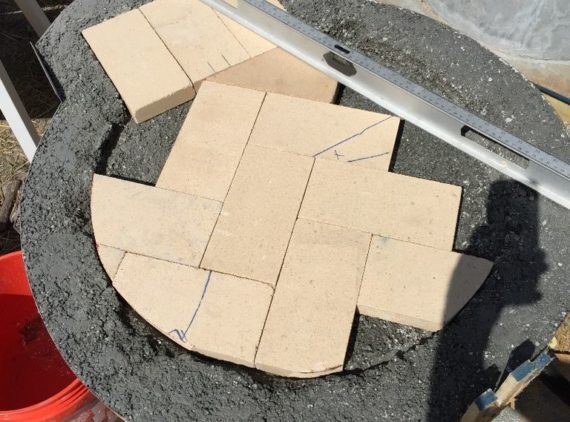
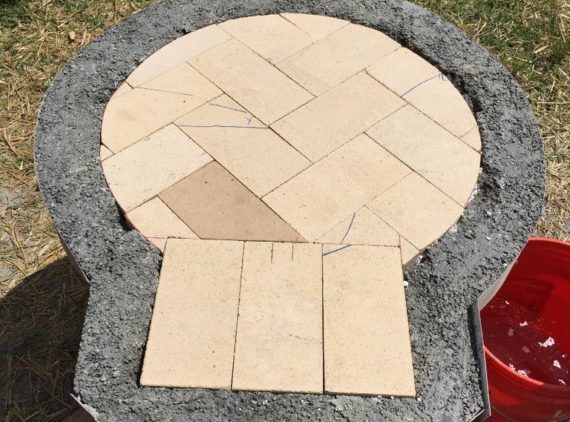
Lay the bricks out in a herringbone formation and cut the bricks as needed, make sure all of the bricks have a tight fit and your bricks sink into the template of the concrete bottom layer. Make sure you skim the edges of the bottom mould to give it a super smooth look.
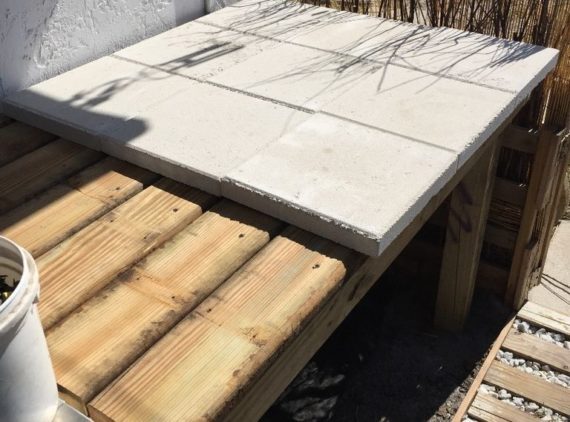
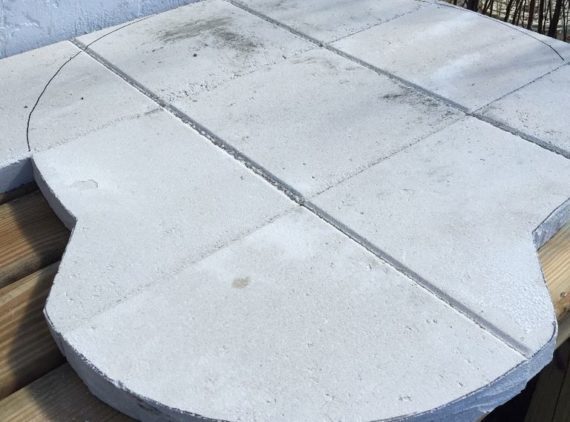
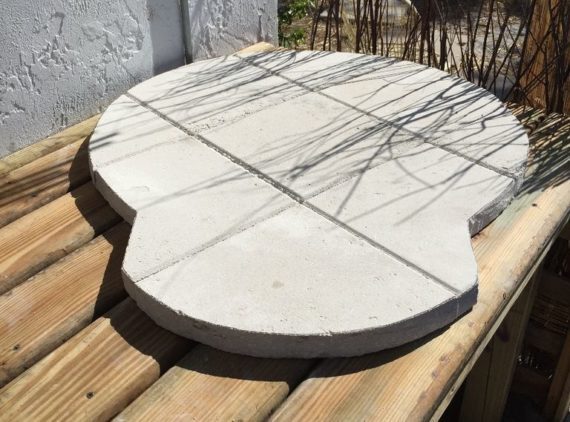
Step 4: Create the stand and pavers base
Next, it’s time to choose your spot for your pizza oven to live and create a base to protect your property. The pizza oven platform can be around 45-inches long and 36-inches deep, this is all dependent on the size of your oven.
In our case, we added some pavers for the oven to sit on but to be safe, you just need to make sure you have around 3-inches of concrete to separate your oven from any wood platform. Lay your pizza oven on the stand and move it into place to the perfect angle for cooking your pizzas.
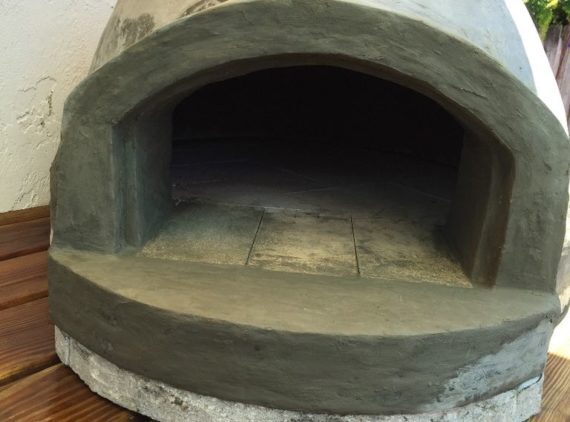
Step 5: Finalise all the details
Once you have the pizza oven in place, you can add another skim coat of concrete around the outside of the pizza oven to seal all the seams and add in some detail to the door opening.
Add in your flue and leave the oven to set for a week or two so that it is dry and cured before you start using it.
When you are ready to test it out, do it in baby steps creating a small fire first and then moving up in steps before you create a roaring fire, just to ensure your pizza oven is sealed properly and working as planned.
As an extra step, you should consider buying a thermometer so you can keep and eye of the pizza oven’s temperature so you can ensure your pizza creations are made to perfection.
Whether you have a small DIY project or a big one, we have the tools you need to get the job done. Listing tools is easy!
Do you own a bunch of tools at home, gathering dust that you hardly ever use? Instead, you should be letting them make you money by renting them out to people in your area. With ToolMates Hire you can now hire your own tools out whenever they’re not in use.
Simply register, add a tool, details and photo, add the dates the tool is available and confirm, and your tool is listed on ToolMates Hire as available.


Leave a Reply