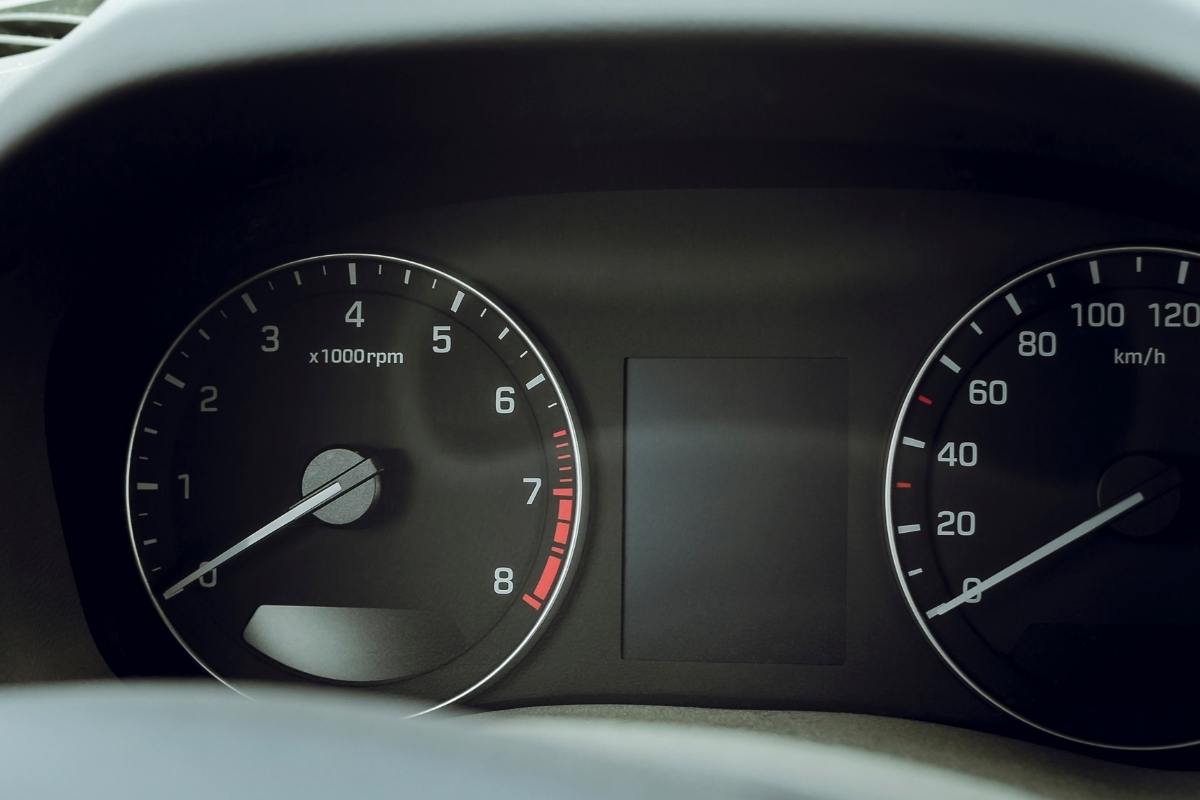
For many auto enthusiasts, the dashboard holds a place of prominence. It’s the vehicle’s nerve center, offering insights into its health and performance. Yet, over time, the gauge cluster might encounter issues. Consider the DIY route instead of spending a fortune at the auto shop. Here’s a comprehensive guide to tackle gauge cluster repairs in your driveway.
Why Is the Gauge Cluster Vital?
The gauge cluster isn’t just for looks. It’s there to give you live updates on essential things like how hot your engine is running, how fast you’re going, and how much fuel you have left. Keeping it in good working order isn’t just about making your car look nice; it’s about keeping you safe and ensuring it performs well.
Understanding Common Gauge Cluster Symbols
Your dashboard isn’t just a bunch of numbers and pointers; it’s a master of symbols and icons that talk to you about your car’s health. These symbols might seem like they’re speaking a secret language, even to seasoned drivers. So, if you are scratching your head over those dashboard symbols or need gauge cluster repair, don’t hesitate to turn to your car’s manual or call the pros for a precise translation.
Now, let’s break down some of the everyday icons you might encounter (and might have wondered about):
Check Engine Light
This symbol, resembling an engine, is perhaps the most notorious. It can indicate various issues, from a loose gas cap to serious engine problems. Consult your vehicle’s manual or a mechanic if this light remains on.
Battery Alert
This icon looks like a little battery and warns you of an issue with your car’s charging system. It doesn’t necessarily mean the battery is dying, but it’s crucial to get it checked.
Oil Pressure Warning
An old-fashioned oil can symbol indicates this. If this lights up, it means your oil pressure is low, and you should stop the vehicle as soon as it’s safe and investigate.
Tire Pressure Monitoring System (TPMS)
This symbol resembles the cross-section of a tire with an exclamation mark. It alerts you if one or more of your tires need inflated.
ABS Light
Standing for “Anti-lock Brake System,” this symbol indicates an issue with your car’s anti-lock brakes. If this lights up, your regular brakes should still work, but the anti-lock feature might not.
Coolant Temperature Warning:
This symbol looks like a thermometer inside the fluid. It lights up if your engine’s coolant is hotter than it should be, indicating potential overheating.
Problems with Your Dashboard’s Display and How to Spot Them
If lights go dim, needles act unpredictably, or readings seem off, these could be indicators that you require a gauge cluster repair. Let’s peek under the hood of these problems and figure out what our car might be trying to say:
Unlit Backlights
Think of this like a lightbulb in your home that’s stopped working. Like how rooms get dark when bulbs burn out, your car’s dashboard can dim if its “bulbs” (or backlights) are out.
Jumpy Gauges
Imagine a twitchy needle on a meter. Suppose the needles on your dashboard suddenly start moving unpredictably, like a spooked cat’s tail. In that case, there may be an electrical glitch.
Stationary Gauges
It’s like a clock whose hands don’t move. If any of the meters on your dashboard are stuck and don’t change, there might be a problem with the meter itself or the connection making it tick.
Blurred Lens
Picture an old, scratched-up pair of sunglasses. If the dashboard’s cover looks cloudy or unclear, it might have been damaged by the sun over time or worn out due to age.
A Step-by-Step Guide to DIY Gauge Cluster Repair
Essential Tools
- Complete Toolkit: Screwdrivers, pliers, and a wrench set.
- Specialized Trim Tools: Protects against damaging your dashboard.
- Soldering Set: For repairing any broken connections.
- Multimeter: Crucial for diagnosing electrical issues.
- Spare Components: From bulbs to entire gauges.
- Cleaning Supplies: Microfiber cloth, lens polish, and an all-purpose cleaner.
Detailed Repair Steps:
Preparation: Disconnect the battery. Prepare a clean workspace with all your tools at arm’s length, including any necessary garage storage for organization.
Removing the Cluster:
Use trim removal tools to detach the dashboard panel gently.
Identify and unscrew the bolts or screws keeping the cluster in place.
Ease out the cluster, disconnecting any wires cautiously.
Thorough Diagnosis:
Illuminate the cluster using a flashlight to identify burnt-out bulbs.
Inspect wires for visible damage or wear.
Utilize the multimeter to check for connectivity issues or blown fuses.
Repairs:
For Bulbs: Replace old bulbs by unscrewing or unclipping them.
Wiring Woes: Fix minor wire damage with soldering equipment. For extensive damage, consider replacing the wire.
Gauge Malfunctions: Sometimes, a gauge replacement is more feasible than repair.
Maintenance:
Clean the lens with a microfiber cloth.
For aged clusters, a plastic polish can restore its sparkle.
Check and clean the connectors with an electrical contact cleaner.
Reinstallation:
Reattach all wires and ensure they’re snug.
Slide the cluster back and screw it securely.
Replace the dashboard trim and reconnect the battery.
Post-Repair Testing: With everything in place, start your vehicle. Ensure each gauge and light functions seamlessly.
When to Call in the Pros
DIY is empowering, but knowing when to seek professional help is crucial. Not all gauge cluster issues are straightforward; some might require specialized equipment or expertise. Here are some signs it’s time to reach out to a mechanic:
Repeated Issues
If the same problem crops up after you’ve attempted a repair, it could indicate a more profound, underlying issue.
Complex Electrical Problems
Gauge clusters are a blend of mechanical and electrical components. If you need more confidence in diagnosing intricate electrical issues, relying on a professional is safer.
Lack of Proper Tools
While many repairs can be done with essential tools, some might need specific equipment. If you improvise too often, it’s a sign you might need to be in your depth.
Overwhelming Uncertainty
If you ever feel out of your depth or feel like you’re ‘winging it,’ it’s a good indication to stop and seek guidance.
Conclusion
Taking care of your vehicle’s gauge cluster through DIY repair can save you money and keep you safe on the road. However, knowing when to seek professional help is crucial, especially for complex electrical issues or if you lack the necessary tools and expertise. So, embark on your gauge cluster repair confidently and prioritize the well-being of your car and your wallet. Happy repairing!


Leave a Reply