
If you’re looking to craft a traditional barrel smoker to create mouth watering meats and smokey meals, the barrel smoker is the holy grail of BBQs and is perfect for summer BBQ’s and creating something a little special for the smoked meat lovers among us.
In this ‘how to’ we create your own BBQ smoker out of 33-gallon drums so you can smoke meat and all kinds of delicious foods. The barrel smoker uses charcoal and wood as fuel and it does require quite a lot of welding and cutting so it’s essential you have a decent welder for this project, or at least borrow it for the day so you can get the barrel smoker put together and firing on all cylinders.
Materials needed to create and build the barrel smoker include:
- 2 barrels – 33 gallon drums
- 1” square tubing for frame
- Paint
- Leather gloves
- Safety equipment for eyes and face
- Tin snips or aviation sheers
- Duct heating elbow and pipe tubing for exhaust
- Nuts and bolts
- Wood dowel for handle
- Casters for wheels
Power tools needed to build the barrel smoker:
The steps for how to create a barrel smoker are outlined below:
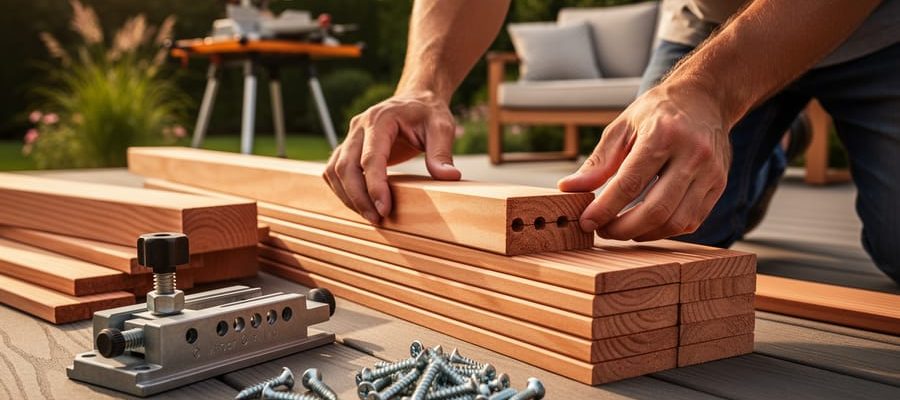
Step 1: Get everything prepared
In this project it’s essential you have all the pieces for your smoker before you start and you may need to do a little bit of running around to pull everything together.
Get some clean barrels to start with, ideally ones that have been used to store dry goods and not fuel or anything flammable. Ensure the barrels are clean and in good working order without any rust as well.
Track down a welder for your job – ideally a MIG welder that avoids all the mess and sparks. If you don’t know what you’re doing with the welder, make sure you engage the services of a friend that does so you’re doing this part of the project safely.
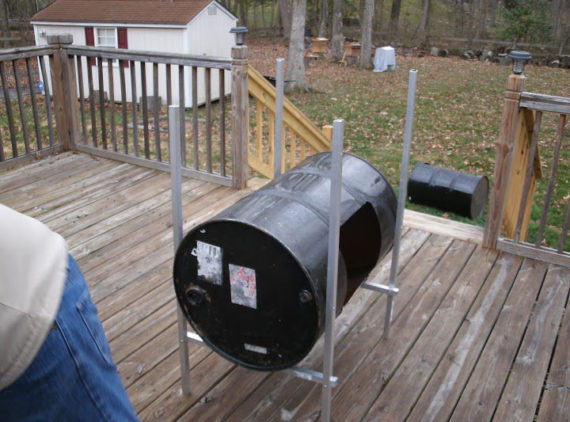
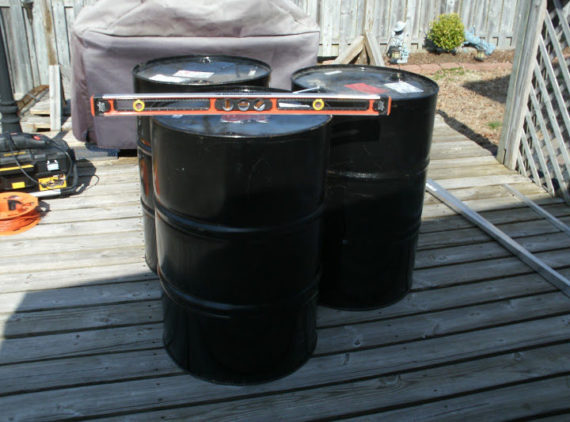
Step 2: Build the frame for the barrel smoker
Now is the time to get started on the frame for your barrel smoker. This part is important and the sturdier your frame, the better your smoker will be. Don’t try and cut corners here and make sure the frame is the right height for you and you don’t have to bend over at all when you are tending to the meat or your food.
Use 1” steel tubing to create the frame and make a sturdy frame that will surround the barrel smoker when it is done. You can add in little steps in the side legs if you like or make it as rough as you like. You can paint it at this stage if you like with metal paint, that’s totally your call.

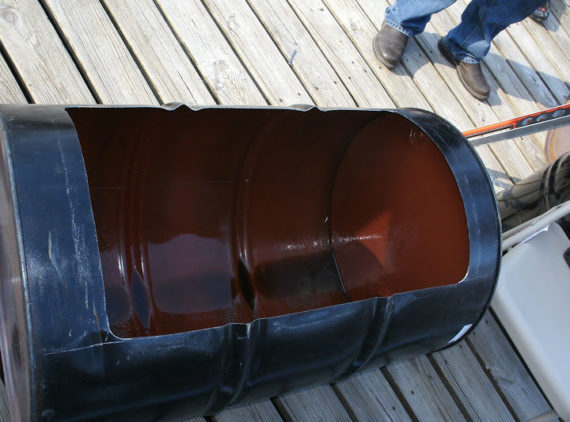
Step 3: Cut the barrels
In this step, grab your metal cutters and cut the barrel into three pieces including a chamber barrel door. You’ll also need to remove a section of the barrel and shorten it. Make the cuts really neat so there aren’t any leaks when you fire it up.
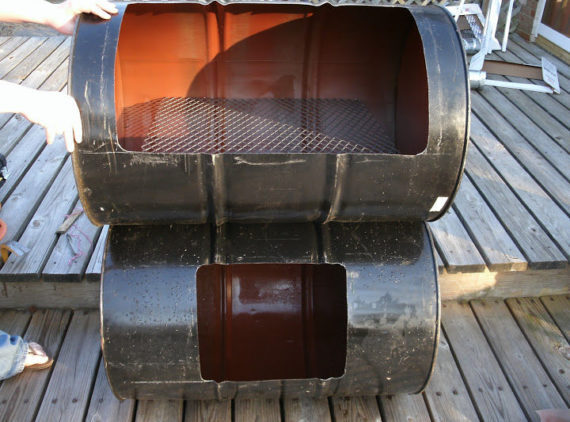
Step 4: Weld everything together
Now you need to weld all your pieces together so grab your safety gear and start welding your pieces so that is all looks the part.
You will be welding the chamber barrel door on and also the side barrel, which holds the exhaust pipe as well. Connect the side barrel and the main cooking chamber together and seal them both up so they are nice and sturdy.
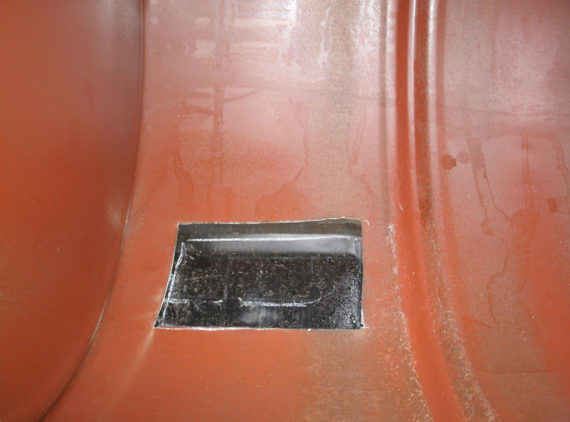
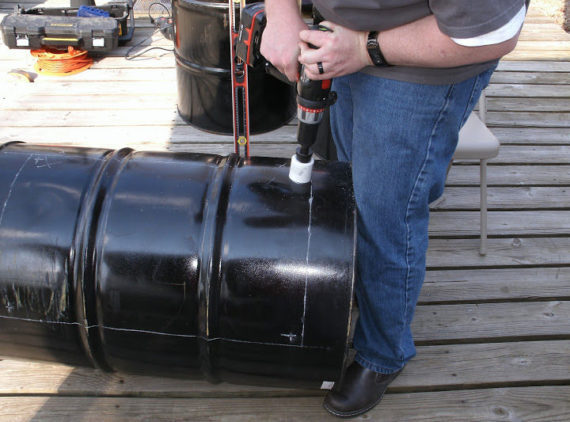
Step 5: Cut a door in the side smoker barrel
Using your metal cutters cut a door in the firebox, which is attached to the side of the barrel smoker. While you are cutting you will also need tin snips to make holes throughout the smoker so that it gets the right amount of air in.
You’ll need cuts in the following areas:
- Cut a circular hole for the intake for the firebox
- Cut a hole from the firebox to the main cooking chamber
- Cut a hole in the cooking chamber for the exhaust
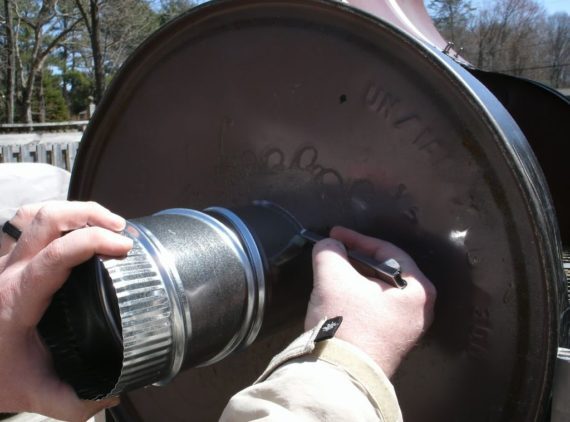
Step 6: Attach the duct and piping
Now is the time to start attaching all the piping so that the barrel smoker can actually smoke. Grab some heating duct elbows and exhaust metal tubing if you have them lying around or from your local hardware store and attach this to the intake hole of the firebox.
You might need to get a butterfly valve to control how much air goes in and out.
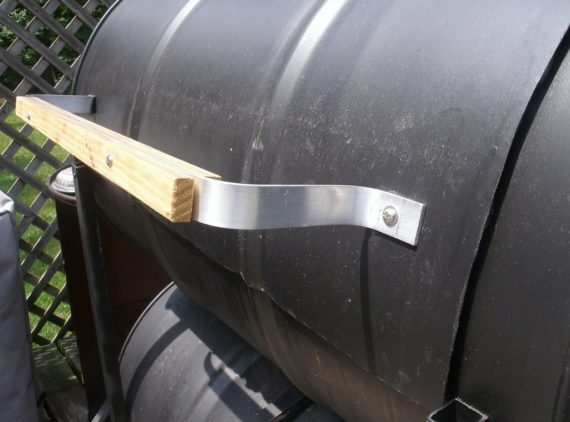
Step 7: Add some handles to open and shut your smoker
When your smoker is all fired up you’re going to need to ensure you have sturdy handles on it so you can open and shut it as needed.
In this step you will need to grab some wooden dowel, drill some holes for mounting the bolts, round off the corners, sand it all back, coat with paint and bolt the handle onto the door. Do this for the firebox door as well as you will need to gain access to this too. Once you’re done, you can coat the entire smoker with some high heat paint or BBQ paint so it looks the part.
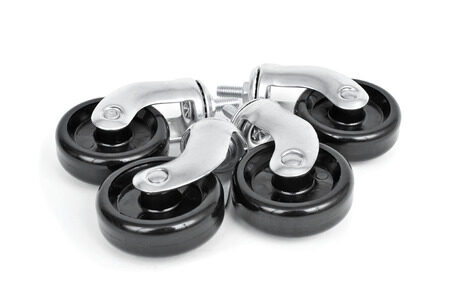
Step 8: Add some casters
If you want you to able to roll your smoker around when your cooking you can add some casters to the bottom of the smoker frame, these are pretty simple to add on and allow you to move it about as you need.
Once you’ve completed all these steps your smoker is ready to rumble. Give it a test and add in some wood or charcoal and you’ll be ready and raring to go.
Whether you have a small DIY project or a big one, we have the tools you need to get the job done. Listing tools is easy!
Do you own a bunch of tools at home, gathering dust that you hardly ever use? Instead, you should be letting them make you money by renting them out to people in your area. With ToolMates Hire you can now hire your own tools out whenever they’re not in use.
Simply register, add a tool, details and photo, add the dates the tool is available and confirm, and you’re tool is listed on ToolMates Hire as available.
Related Posts
Post a Comment