

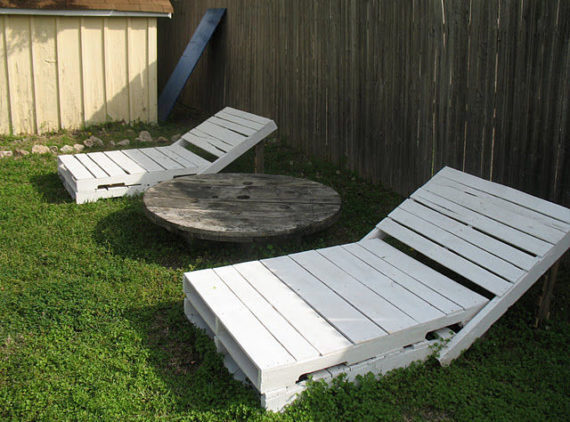
If you’re looking to create a comfortable and luxurious garden loungers but don’t have the champagne budget to buy one from a fancy outdoor furniture store, you could have the perfect materials right under your nose. Using a couple of old pallets you can usually find laying around at a building site, home hardware depot or even under the house you can slap together some super functional garden loungers that not only look great but are super comfortable for catching some rays or relaxing in the backyard. By creating something from materials you have lying around your house and adding a bit of varnish or a bit of leftover paint and even a few cushions and you’ve got yourself some seriously functional garden furniture that you and your friends will love lounging on. In this article, we step through how you can make simple garden pallet loungers that are perfect for the environmentally conscious and those keen to give some old building material a makeover saving hundreds on expensive store bought garden furniture.
The five easy steps for making a garden pallet lounger are outlined below:
Materials needed:
These steps are for making two lounge chairs if you only want to make one you just need three pallets.
- Four pallets – ideally the pallet should be exactly the same in size and rectangular
- One extra pallet that is wider than the others and square in size if possible
- 2×4 scraps if you have them laying around
Garden pallet lounger tools needed:
- Hammer and nails
- Circular saw
- Builders pencil
- Ruler
Source: shoestringpavilion
Step 1: Laying out your lounger to get the right shape and size
In this first step you’ll need to get all four of your rectangular pallets and simply stack them on top of each other using a two-by-two construction and then get the 5th pallet that you are going to use as a backrest and ensure it is wide enough to suit at the top (head end) of your lounger.
To ensure you get the right shape for your chair, the top boards of the back support of the lounger should fit when the backrest is attached with 2x4s on each side of the seat. Just made sure the fifth pallet is a couple of inches wider than the other four and you should be fine.
Source: shoestringpavilion
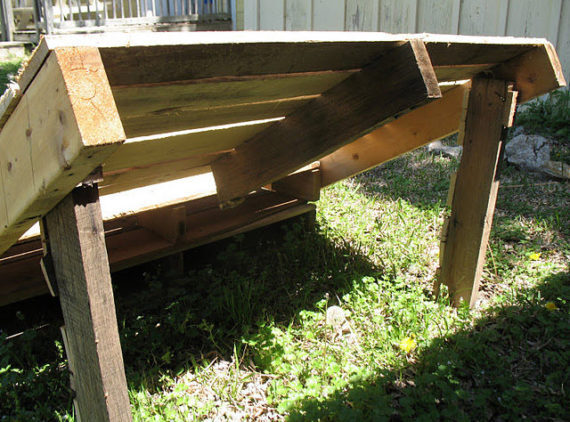
Step 2: Deconstruct the pallet that will act as a headrest or backrest
Slowly and safely deconstruct the backrest pallet board by board so that you have removed the bottom boards and the two outside middle boards, leave a couple of boards in the middle of the pallet to keep the structure of the top boards in place. There will be a couple of scraps left over which you might be able to use later on.
Cut what remains of the backrest pallet into two halves, ensuring you make a cut that is the same direction as the main part of the seat. Next, take some 2x4s and attached them to the top boards on either side. These will act as a bit of a connector to the main part of the seat and if you need to buy new ones that could be a good way to go to ensure they are nice and strong.
Source: shoestringpavilion
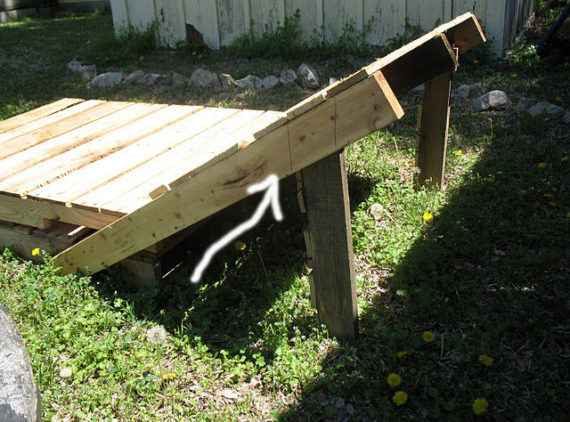
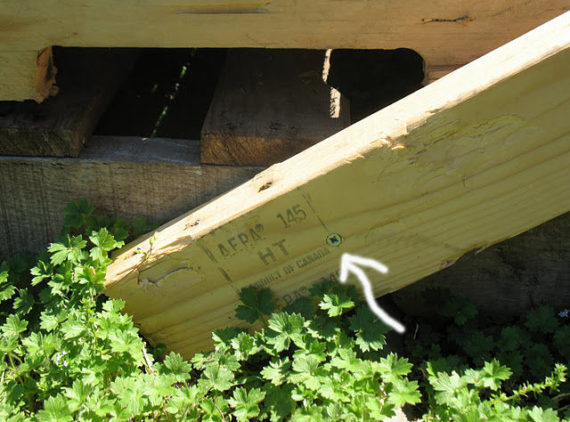
Step 3: Get your angle right for the seat
Next, it’s time to figure out what sort of angle you want for the lounger and prop up your seat so you can work out the incline you’ll be working with. Once you’ve figured out the perfect angle, you will need to mark this out on the supporting legs of the side of the lounger.
You can use the middle board 2x4s that you have left over from your backrest pallet as you’ll probably have these laying around. At this point, drill in the support legs to the backrest to make them nice and sturdy.
Source: shoestringpavilion
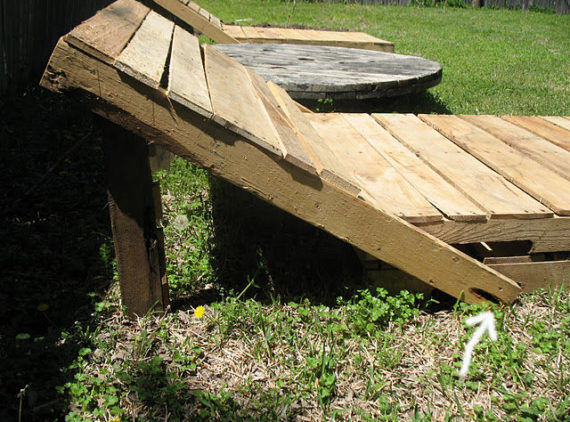
Step 4: Attach the backrest to the seat
You’re almost ready to get comfy on your lounger but before you start pouring your Mai Tai it’s time to attach the back rest to the seat pallet. Put a screw into the side arm and attach to the bottom seat pallet so that your chair is nice and sturdy.
Give your chair a bit of a once-over to ensure it is sturdy and not wobbly to ensure the lounger is safe and secure to sit on.
Source: shoestringpavilion
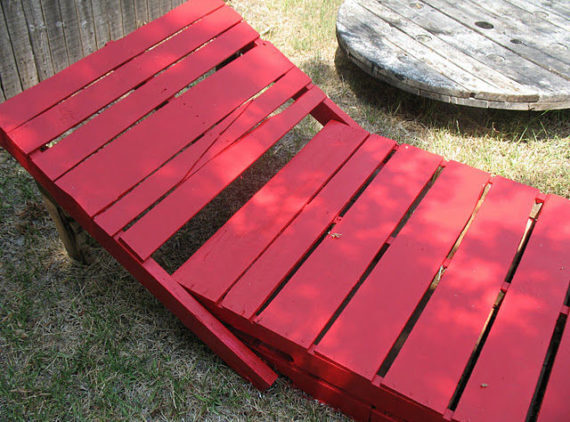
Step 5: Make it a little fancy with primer and paint
The final step is really for aesthetics, once the construction is all done it’s time to give your garden lounger a little bit of love with primer and paint.
Add some primer to the loungers and then paint whatever colour you like, if you are super handy, you can even make or track down some big lounger cushions so you can enjoy lounging in the sun or the back garden all summer long.
With a couple of pallets and some old 2x4s we’ve basically made an awesome set of garden loungers for you and your friends to enjoy. Why stop at garden loungers, with a few more pallets you could even make an entire garden set or even a modular picnic set.
ToolMates Hire is your one-stop online platform for the sharing of tools all via the comfort of your home. If you’re looking to do a DIY project using a circular saw, drill, welder, power tools and don’t have the right tools or you have tons of tools and no time to use them we can put you in contact with people looking to hire in your local area so you can make money from the tools you have gathering dust at home.
Simply register, add a tool, details and photo, add the dates the tool is available and confirm and you’re tool is listed on ToolMates Hire as available.
Related Posts

Post a Comment