
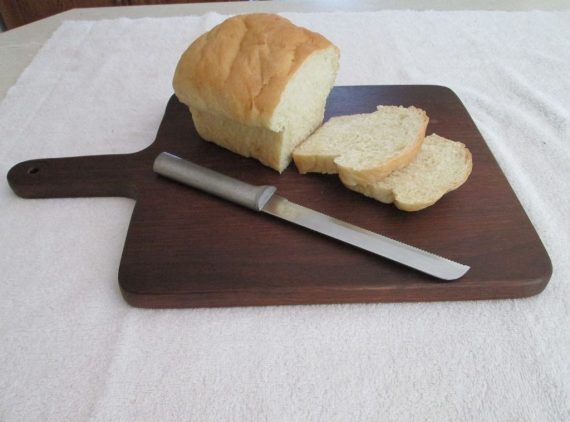
Looking for a quick diy build that won’t cost you much and you can use almost every day? Why not try this diy wooden cutting board?
This neat little accessory can be made from any spare wood you have lying around. If you need to buy some wood, it won’t cost much. The wood we are using for this cutting board is about 1 inch thick and 18 to 24 inches wide, but obviously, it can be sanded down from there. You can also use whichever wood you please, but we are using lumber.
Materials
Oil
Wood
Tools
Sandpaper
Square
Tape measure
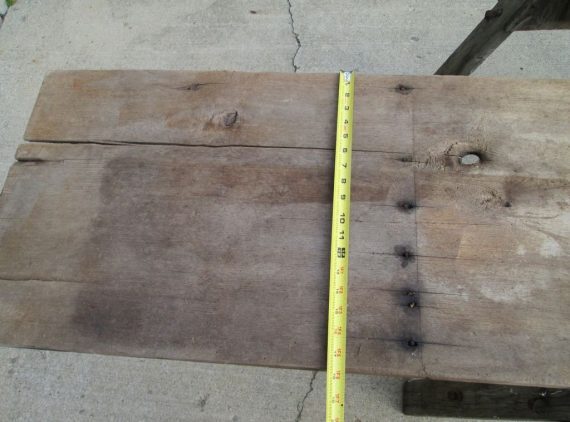
Step 1: Preparing your wood
For our cutting board, we cut the wood to around 12″ x 10″, and as pictured, we also gave our board a handle to add some character and usability.
Make sure you sketch up the radius of your cutting board on the wood before you go ahead and cut. You want to make sure you don’t make any mistakes!
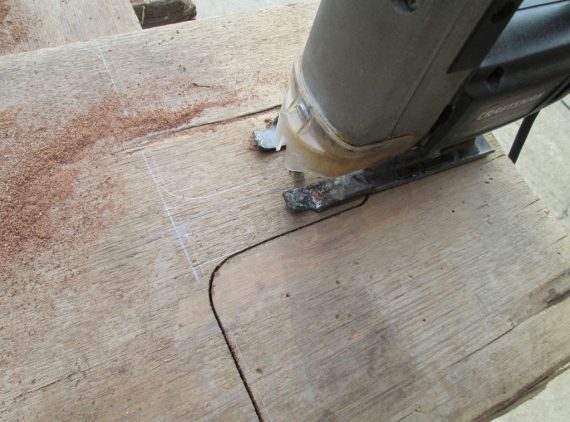
Step 2: Cutting the board
We then used a sabre saw to cut the board along the traces we had made on our wood.
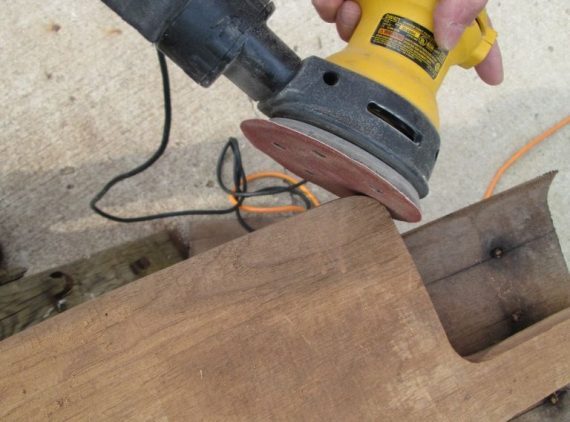
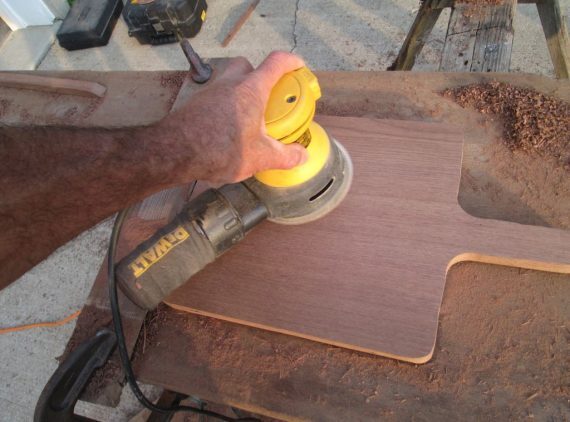
Step 3: Sanding
Once you have your board cut, use an orbital sander to go over the edges and clean up the board. You will be doing some more sanding and cleaning later, so it doesn’t have to be perfect this time around. If your wood is a little warped, like you may have noticed ours is, use a belt sander to get it even. Once finished, our board was roughly 3/4″ thick, but already looking far better.
Step 4: More sanding
Now you can use your orbital sander to go over the entire surface of the board. We also gave the edges a slight rounding, just to add some more character to the board. For the paper used, we went for both 80 and 120 grit.
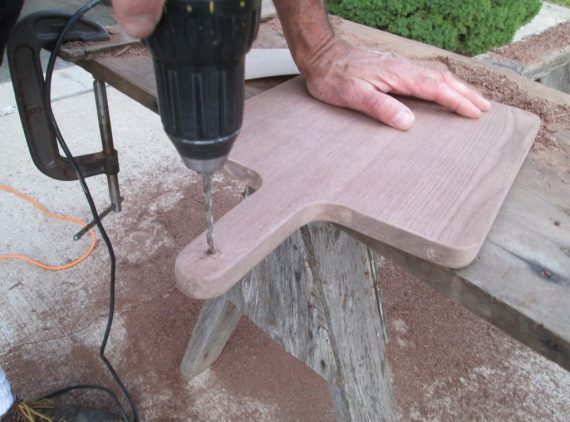
Step 5: Finishing touches
If you’re following these instructions piece for piece, your cutting board has a handle like ours! What we did was also was drill a hole in that handle in order to be able to hang it if desired. Don’t forget, if you are drilling a hole, to drill a pilot one first. After drilling the hole, we did some more sanding, with some 220 grit paper.
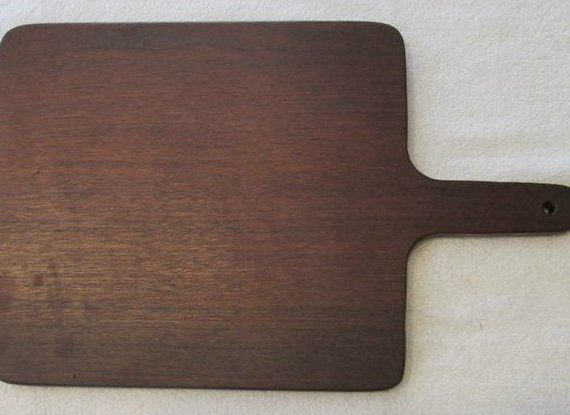
To give our board a better finish, we used some oil, but when doing so, be careful. Do not use olive oil or vegetable oils, as they can turn rancid over time. For this board, we have used peanut oil, but beware, keep it away from people with peanut allergies! Obviously, there are other oils that can be used, but as stated, avoid the two mentioned at the top. For our board, we used three coats of oil, rubbing it with a clean, soft cloth.
Related Posts
Post a Comment