

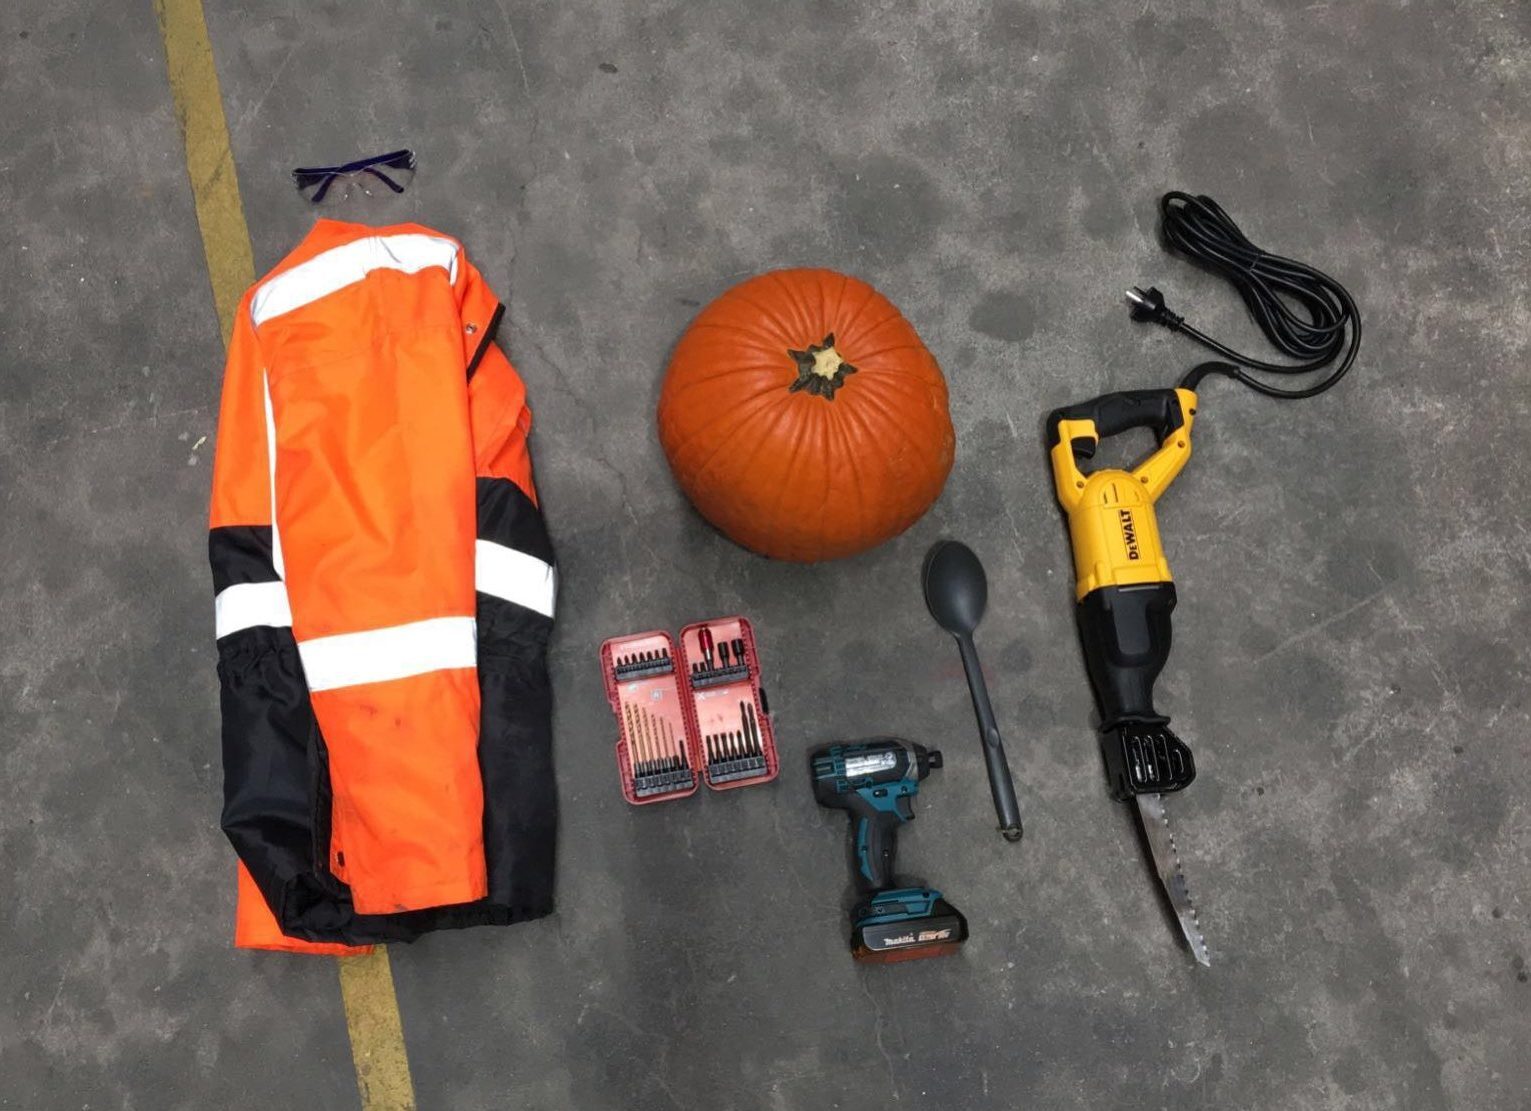
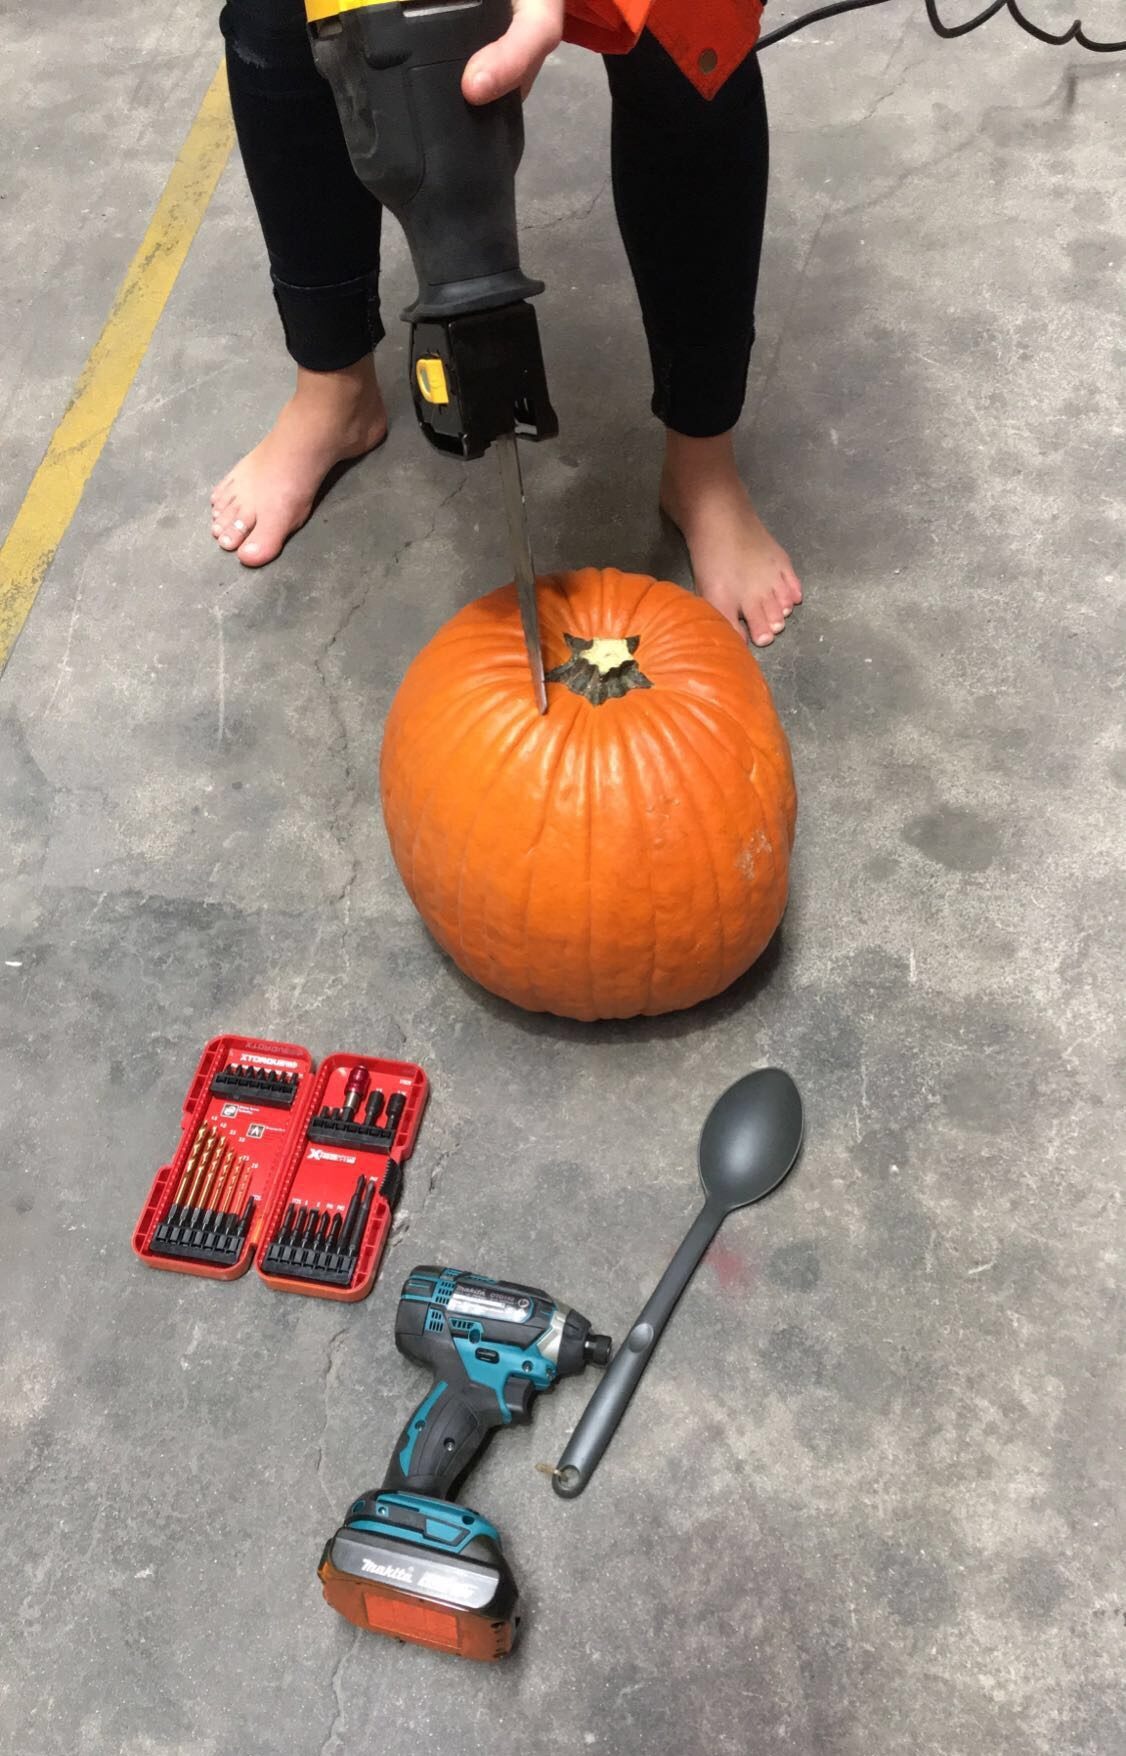
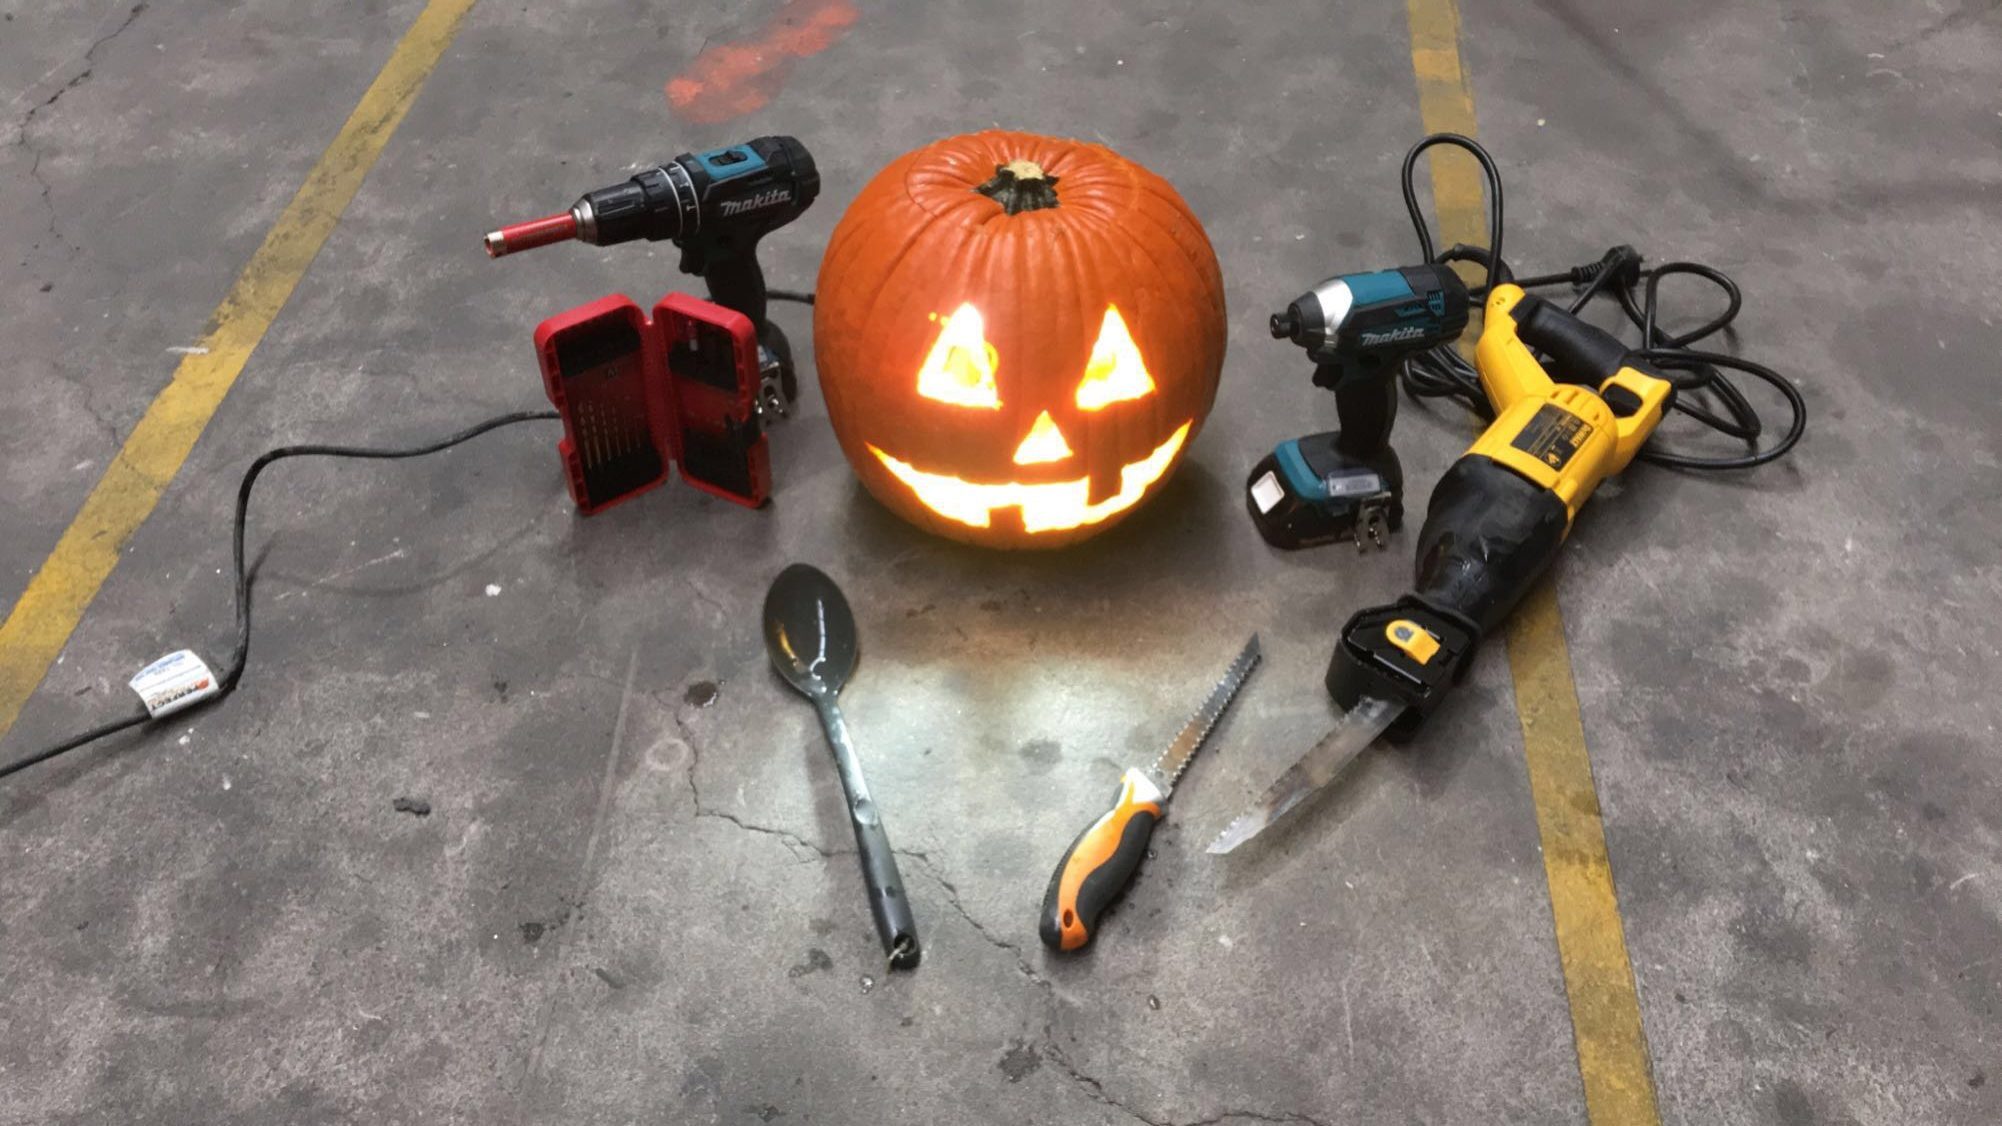
Martha Stewart shows us the conventional way to carve a pumpkin…I wanted to see what would happen if we replaced the “normal” tools with power tools! I started by gathering the necessary equipment, including PPE (Personal Pumpkin Equipment).
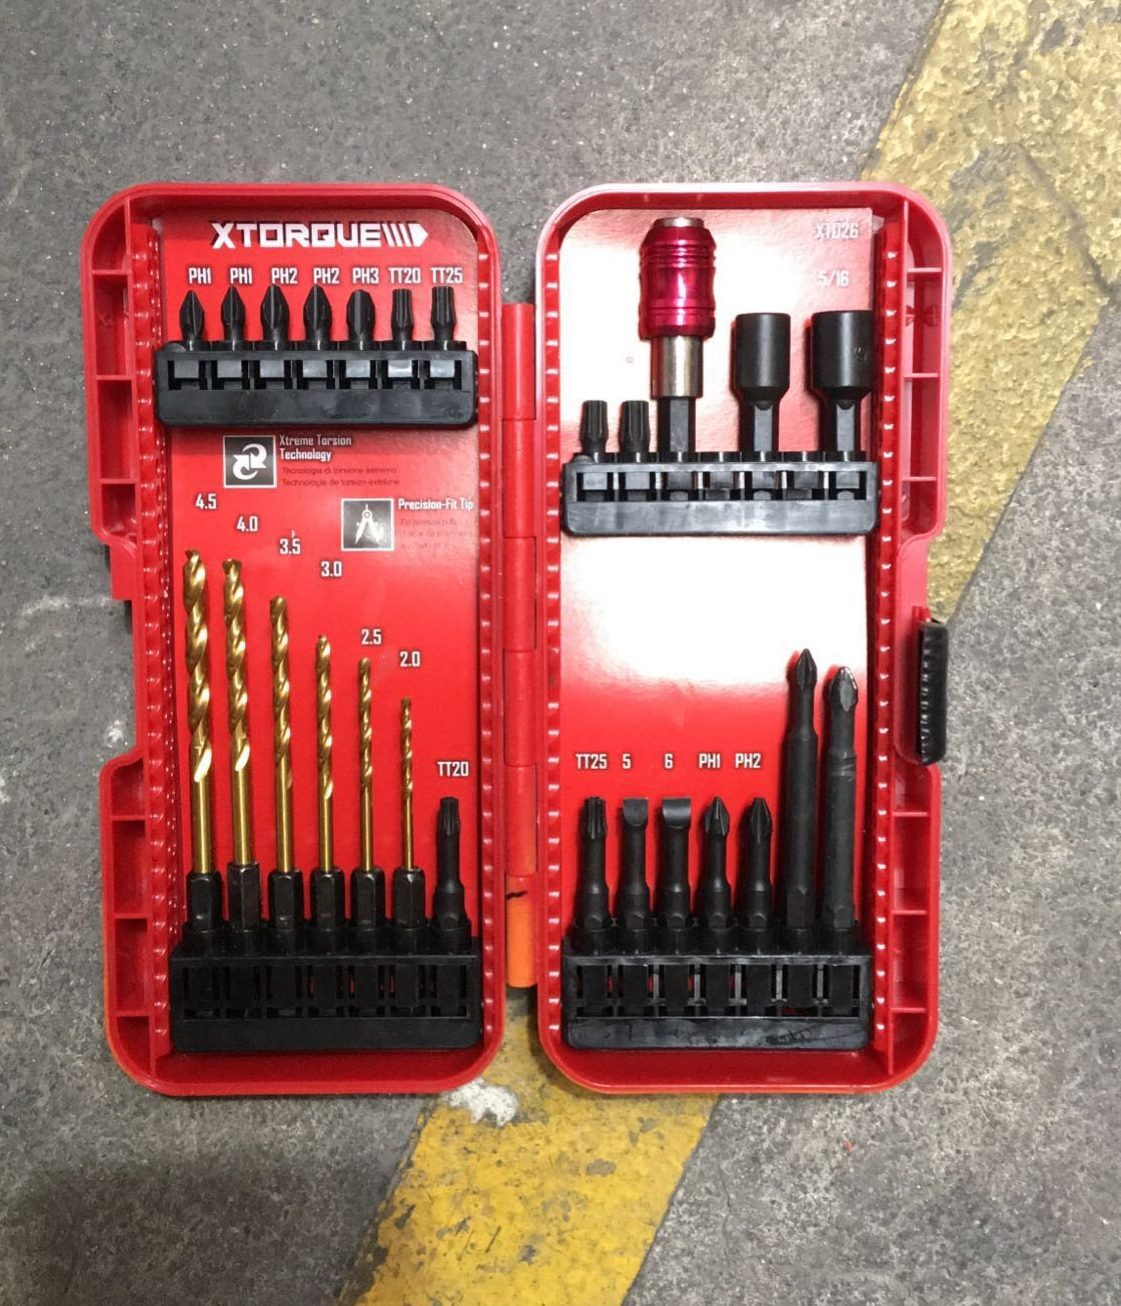
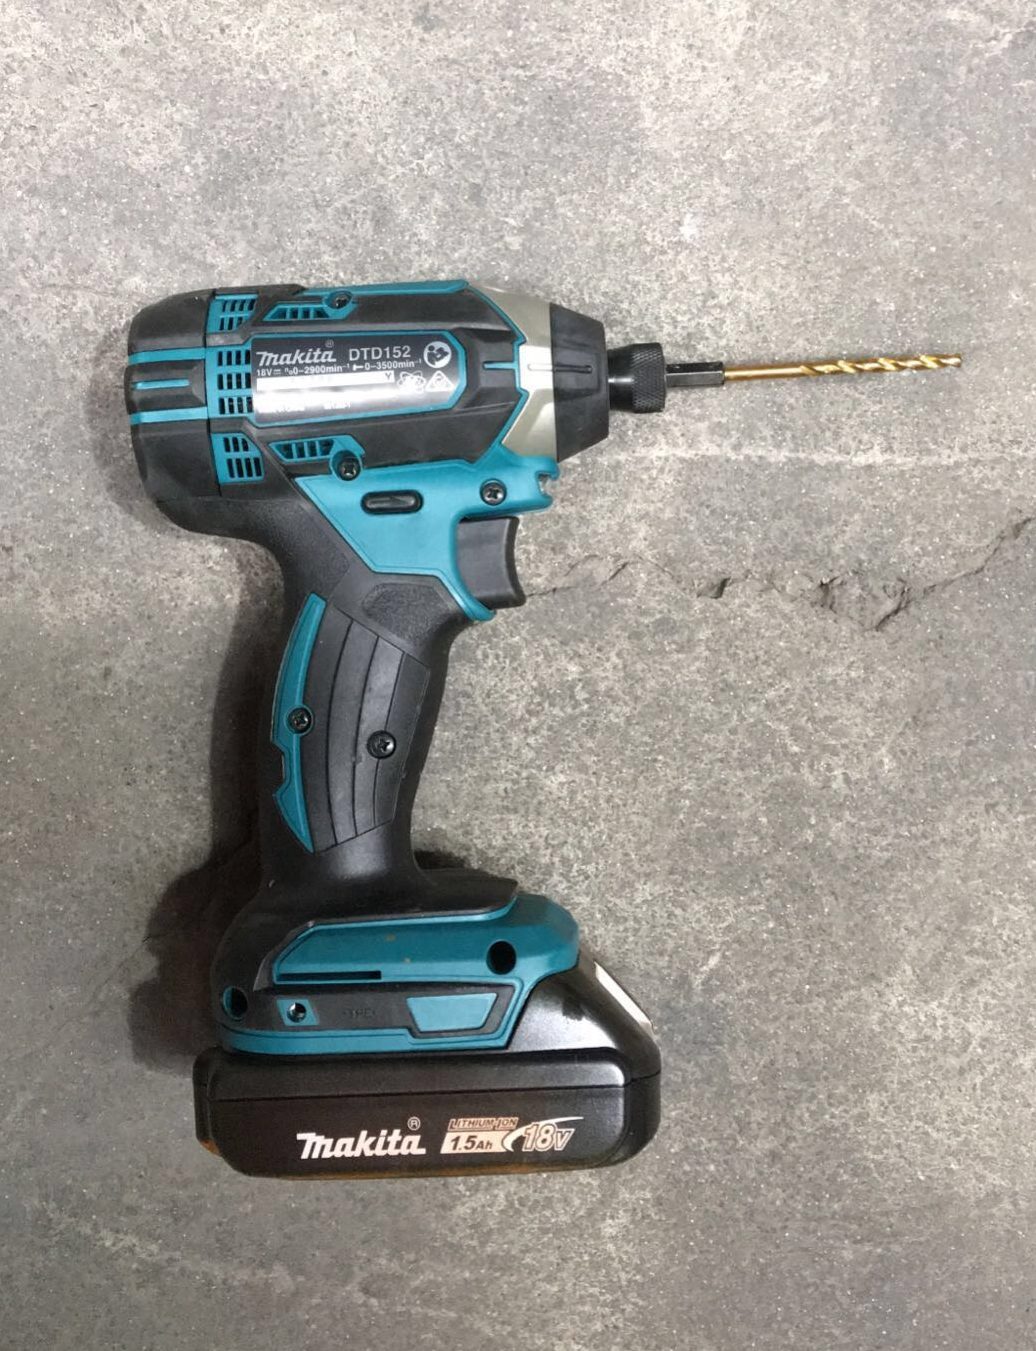
I grabbed the recipro saw, the cordless drill, drill bits, and a pumpkin guts scooper to start.


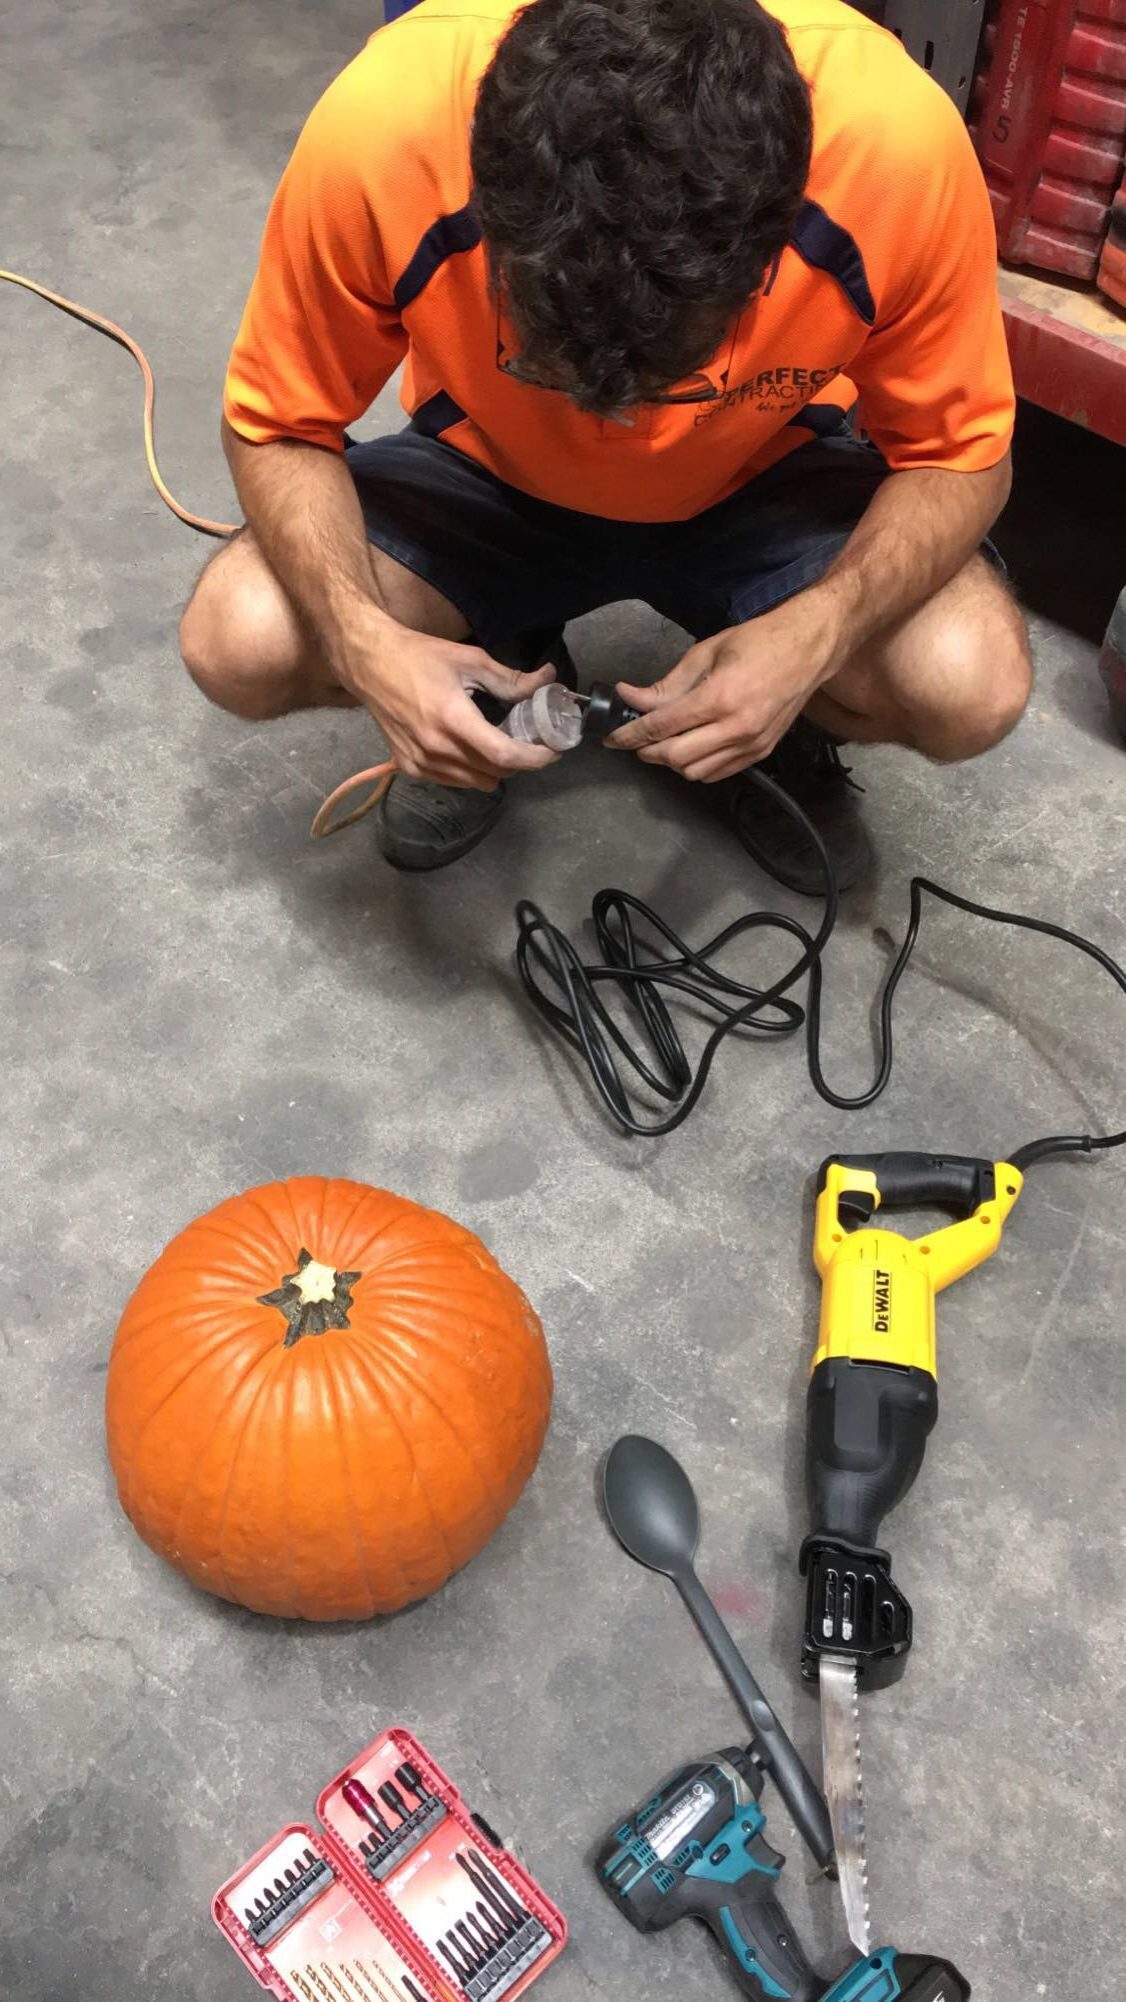
First step: Cut out the top.
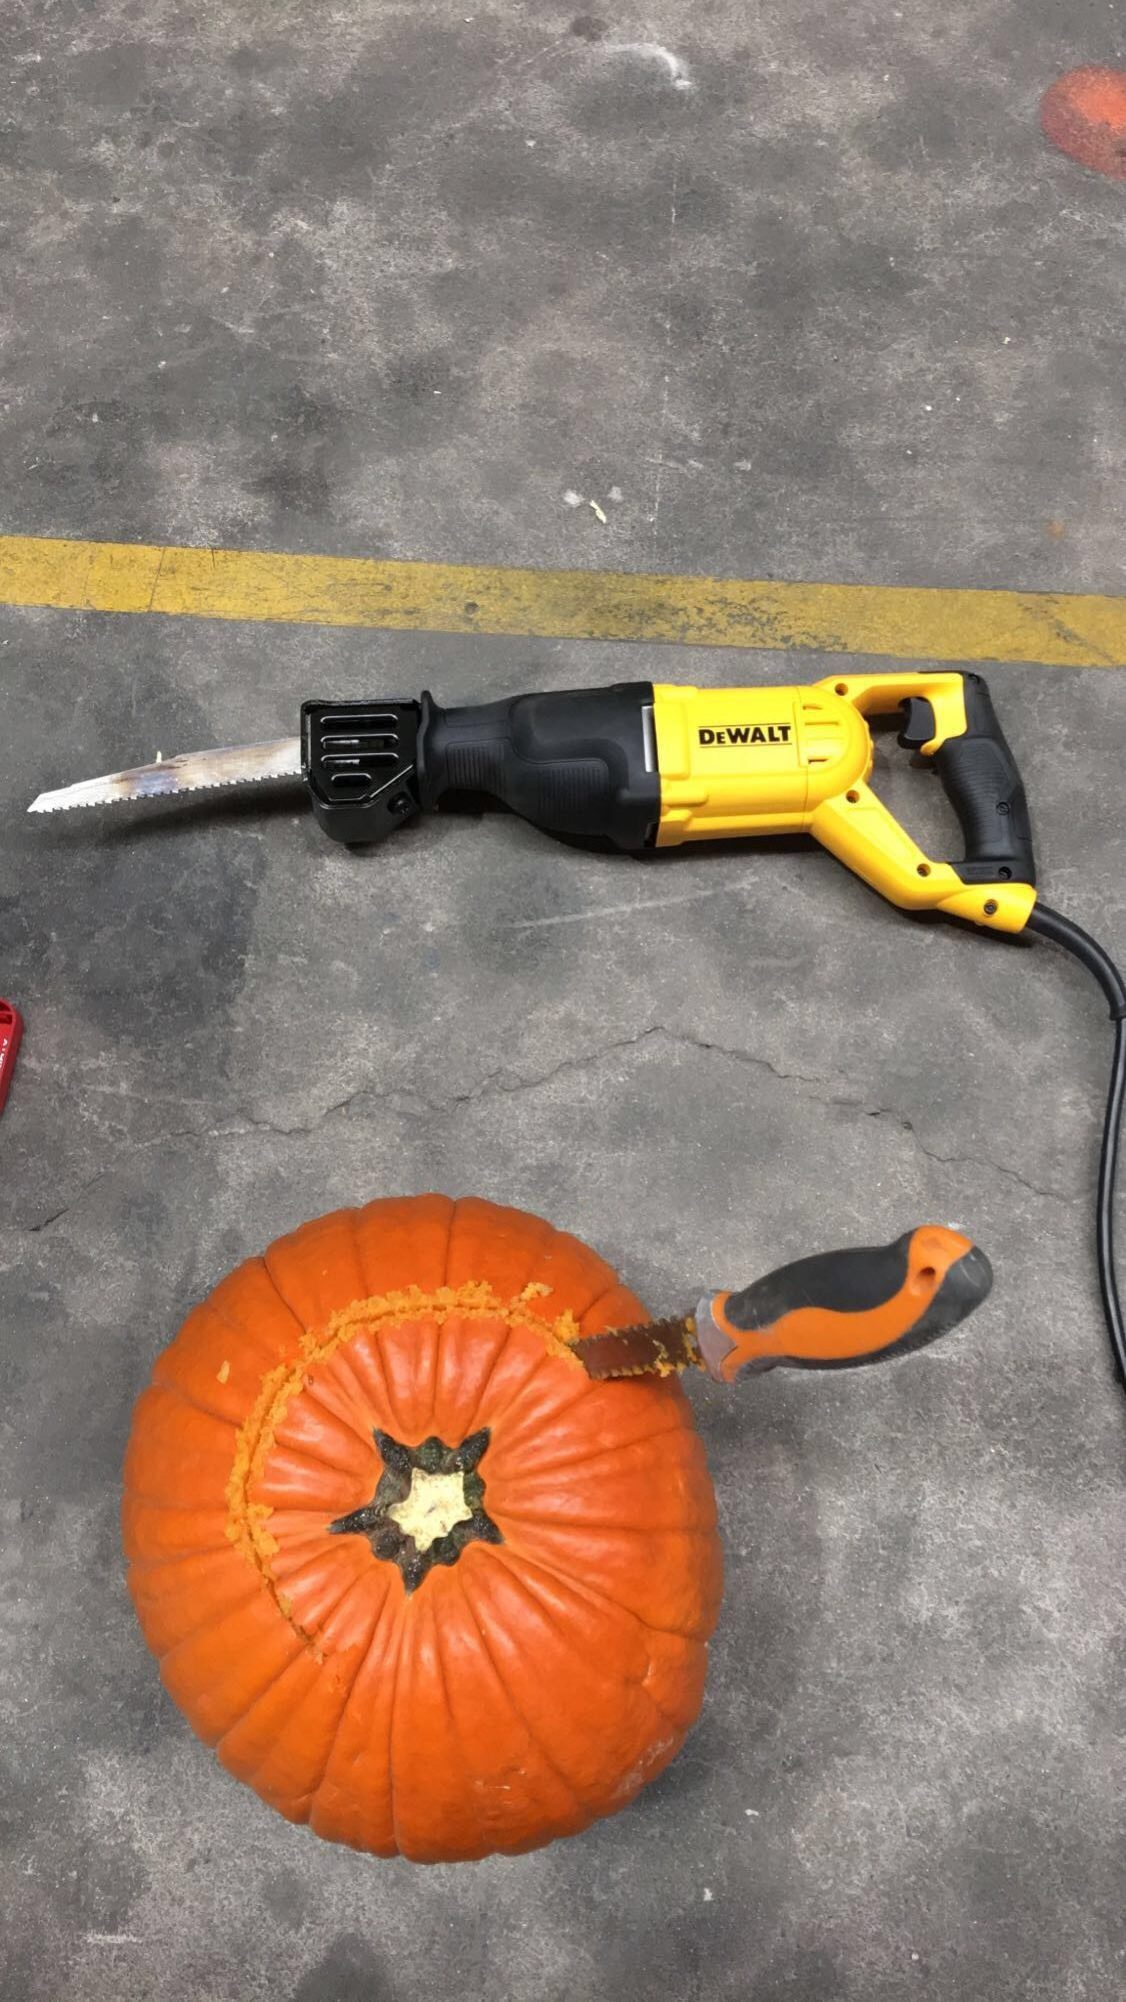
Tools: Recipro saw, hand saw.
First, I tried to cut a circular hole in the top of the pumpkin with the recipro saw. Didn’t work. Even after a quick training and another few tries, I called it quits. The main problem with using the recipro saw was that the saw moved the pumpkin around too much while it was cutting. It also did not allow for very precise cutting.
Next, I switched to the hand saw and cut the top off the pumpkin, making sure that I angled the hand saw in toward the pumpkin’s core while I cut. This is important to do since the pumpkin “lid” will slip right through the hole if the walls of the hole aren’t angled. Make sure to use the hand saw or other tool at a 45-degree angle to create the angle on the hole walls.
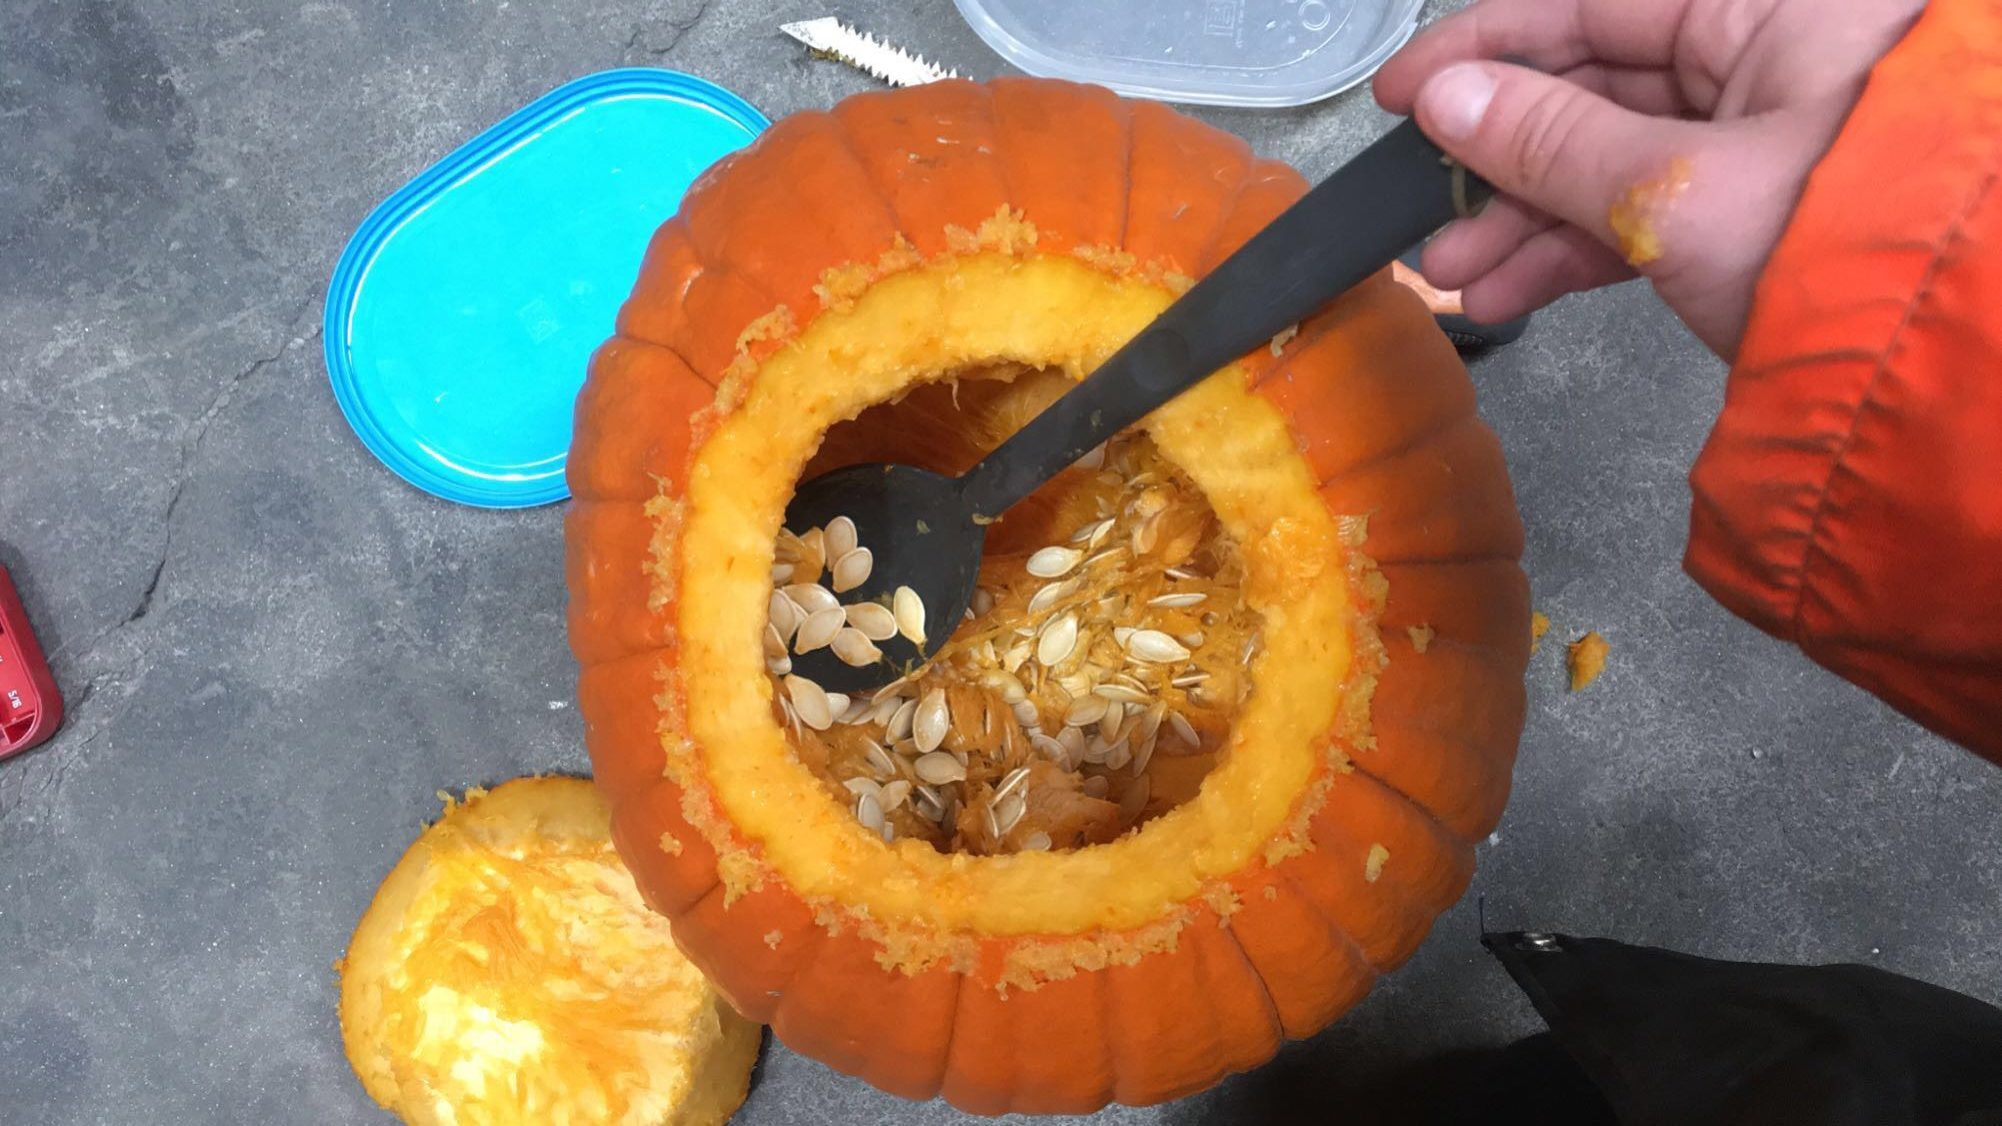
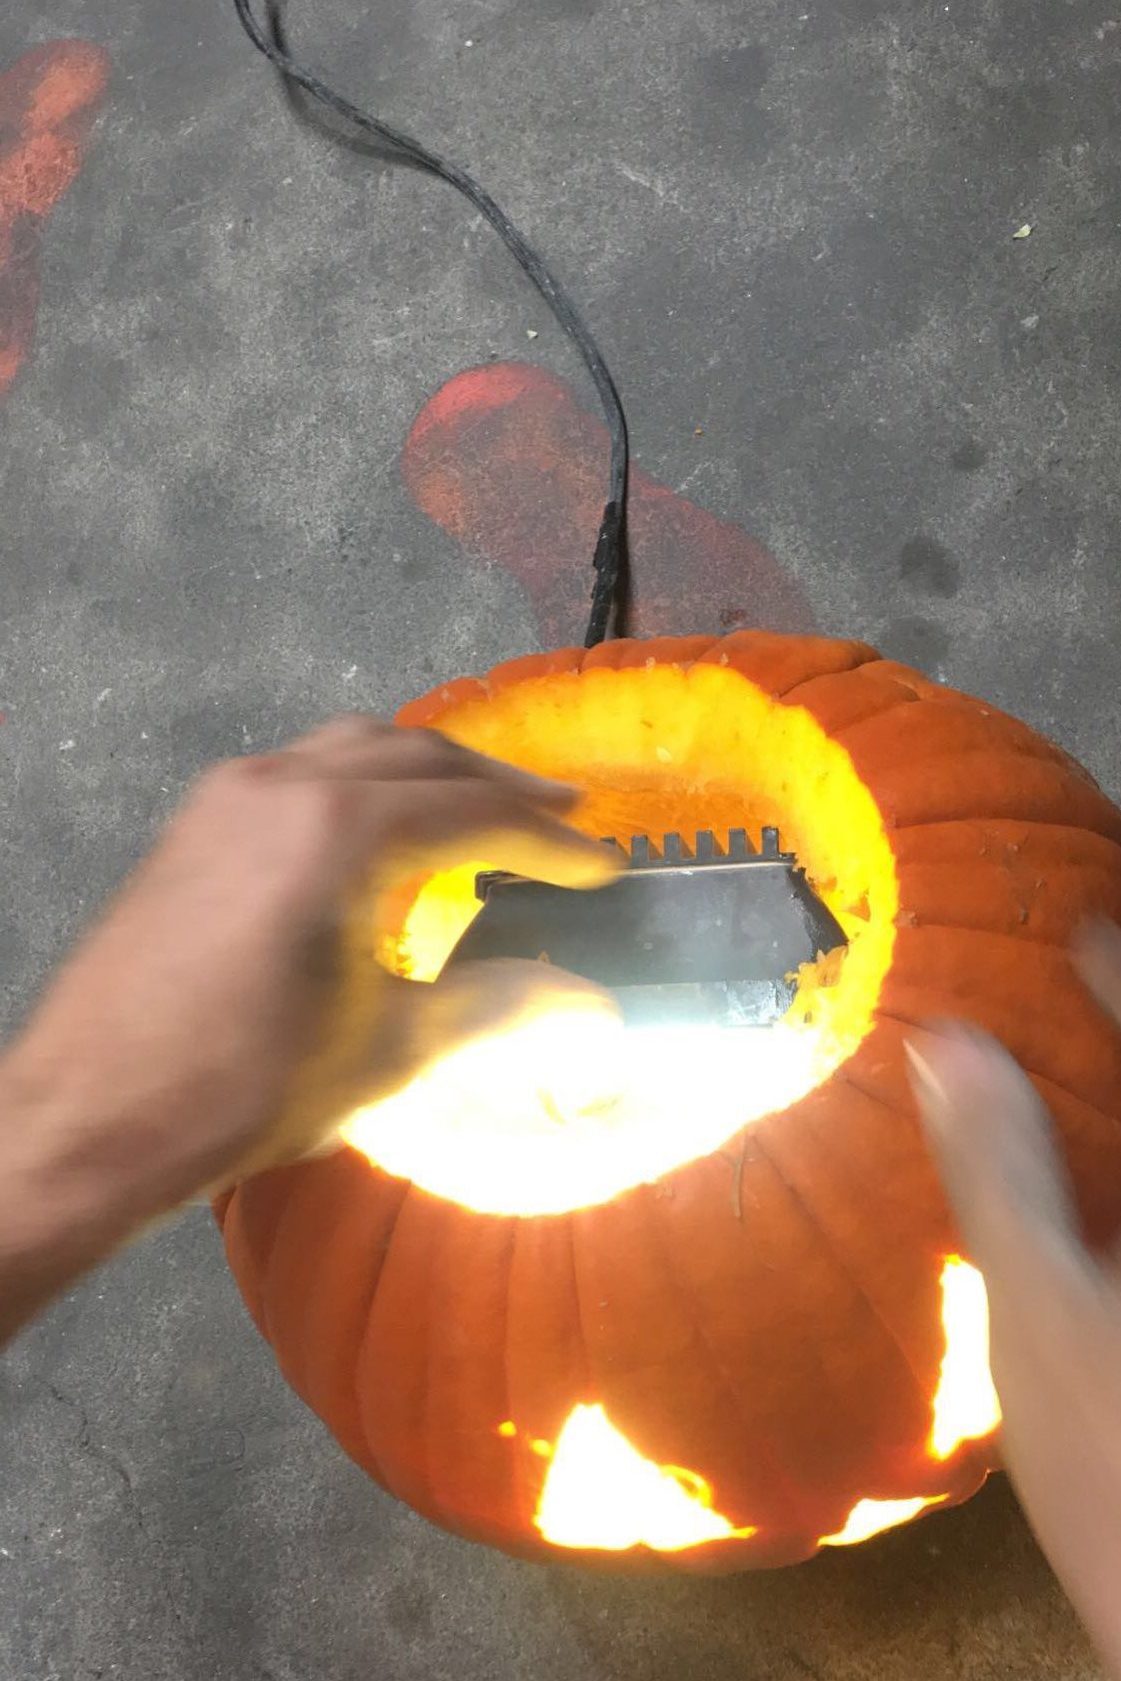
Second step: Scoop the goop.
Unfortunately, couldn’t convince you that a power tool is necessary for this step. But, if you can think of a power tool appropriate for this messy task, by all means let us know in the comments.
I went in with my trusty guts scooper (a.k.a. large kitchen serving spoon). This task could also be completed with a pasta ladle.
This tool was slightly too slippery to grip the goop, so I reverted back to using the greatest tools of all time: my hands!
Third step: Carve out the eyes and the nose.
“Cut out the eyes” sounds quite gruesome, but actually its one of the most fun parts of carving a Jack-O-Lantern.
I grabbed the cordless drill and attached a coring bit. This was an easy way to make the first opening. The coring took a little pressure to get through the hard pumpkin shell, but once through that, it worked like a charm and I had perfect circles to work with. I drilled 3 holes in a triangle shape and then used the hand saw to straighten the lines of the triangle eyes.


https://toolmateshire.com.au/blog/wp-content/uploads/2016/10/IMG_4632.mp4
Carve the mouth out using the hand saw. The hand saw is the best for making precise cuts. After making these cuts, take a minute to carve walls down to an angle so that the most amount of light can shine through the holes. Stick the hand saw back through the eye, nose, and mouth cuts then go around the edges of each cut at an angle, sawing away the walls to a 45 degree angle to match the lid.
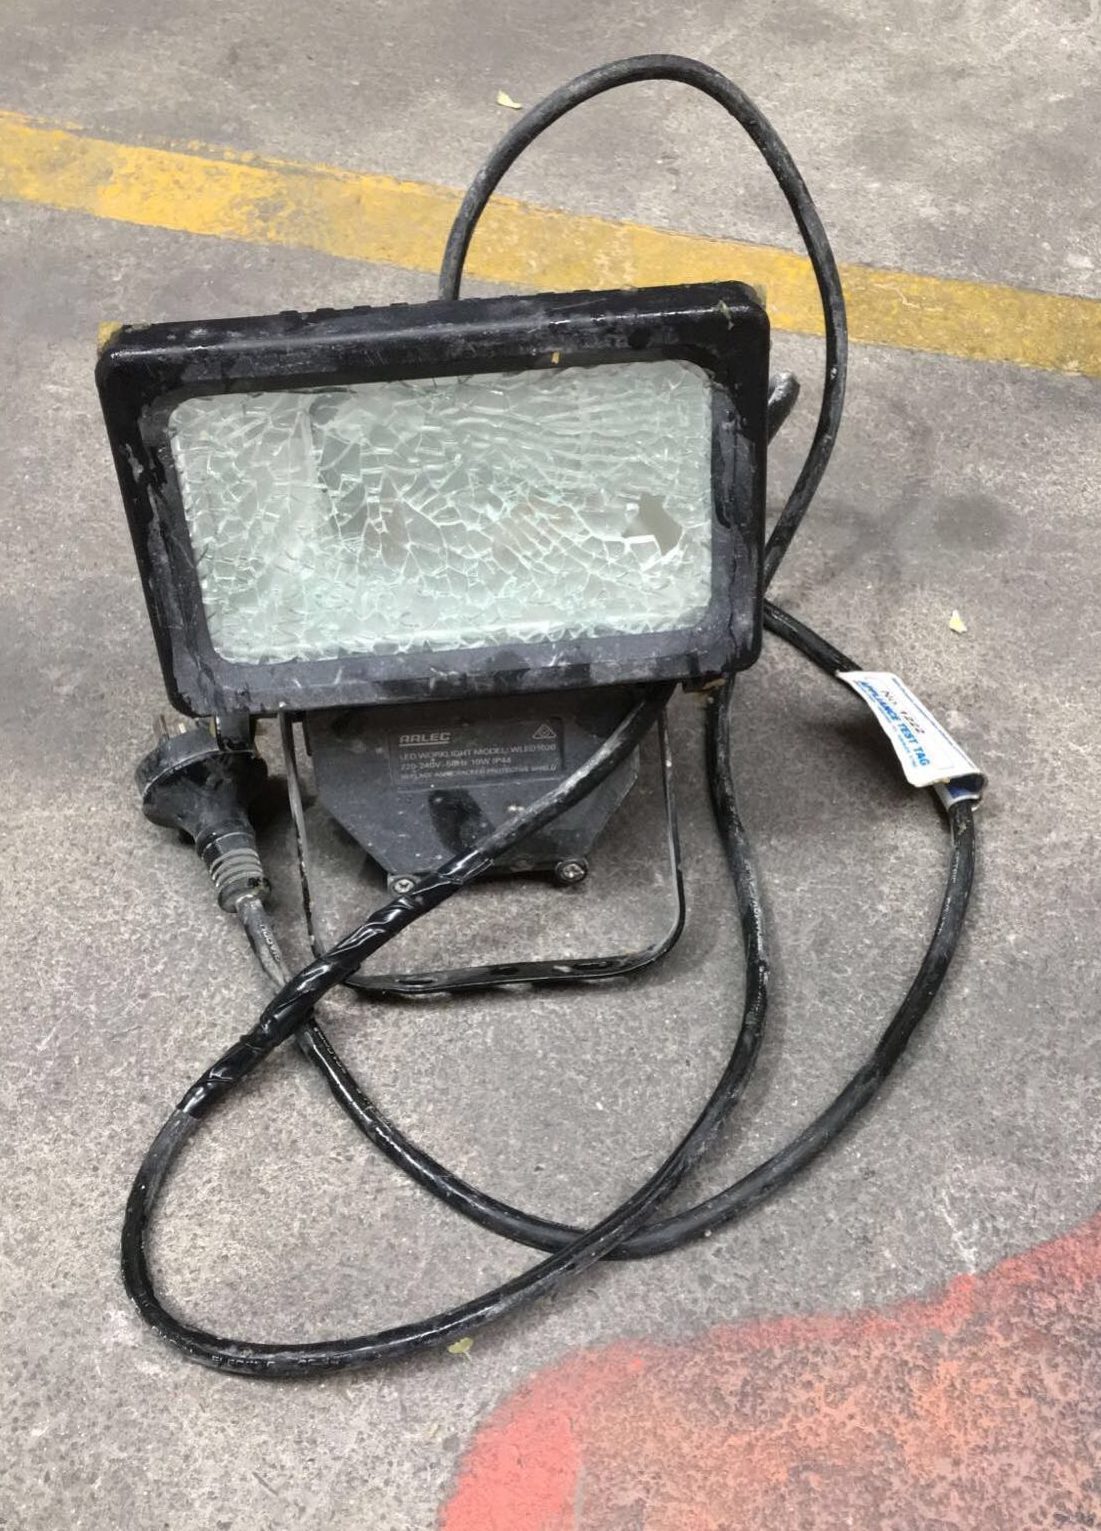
Forth & final step: Light him up!
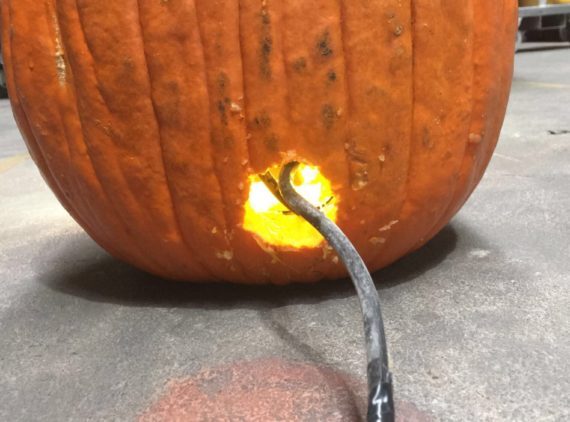
In keeping with the power tool and industrial spirit, I wanted to try lighting the pumpkin up with something other than a candle. Luckily, I found an unused LED lamp in the warehouse and it was the perfect fit!
To leave room for the lead, I cut a small circular hole in the back of the pumpkin and drew the cord through the hole.
Using the cordless drill, recipro saw, hand saw, core drill bit, and the LED lamp got the job done well. I am surprised to say that while I thought the power tools would make the carving process even easier than conventional tools, the hand saw actually proved the most useful tool. The cordless drill with the coring bit was the most useful of the power tools because it was effective in punching through the wide pumpkin wall and remove a fair amount of pumpkin in each core hole. As I mentioned earlier, the recipro saw was hard to control and caused the pumpkin to shift when used. Since the recipro saw is a 2-hand power tool, I was unable to stabilise the pumpkin and avoid having the saw move the pumpkin around.
I have read from the pumpkin carving master that a jigsaw is a good alternative to the recipro saw. He also suggests using a dremel tool and bits to carve, or rather shave, away the orange pumpkin shell and expose the white inside wall. This would be a great tool to use to make small details as well.
A very fun experiment to see how power tools can be used for unconventional (and very messy!) purposes.
So, there you have it! The finished product.
Related Posts

Post a Comment